
Relocating your Phoenix Dome? Whether you’re moving to a new property or temporarily taking down your dome, the process is straightforward with the right approach. Our step-by-step guide will help you efficiently disassemble and move your dome while ensuring its longevity.
Preparation: What You’ll Need
Before you begin, gather these essential tools and materials:
- Socket wrench set – for loosening bolts and fasteners.
- Impact driver with deep 17 and 19mm sockets– for quicker disassembly.
- Labeled storage bins or bags – to keep small components organized.
- Protective gloves – for handling metal components.
- Tarps or moving blankets – to protect the dome cover and frame during transport.
- A sturdy standup ladder or scaffolding – for accessing higher sections safely.
Step 1: Remove Interior Features
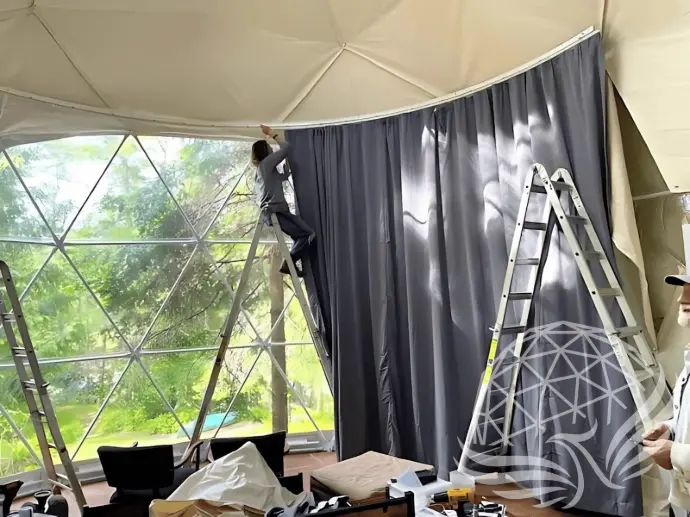
If your dome has furniture, insulation, curtains, or additional modifications, start by carefully removing them. Store fragile components, such as glass windows, separately with protective padding.
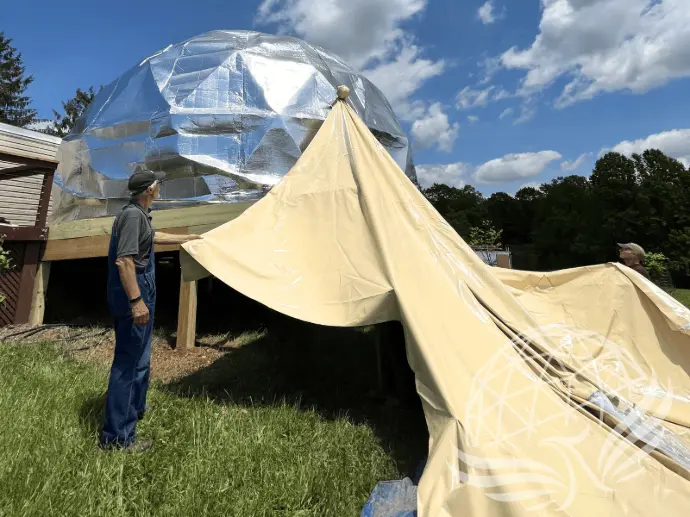
Step 2: Take Down the Dome Cover
- Loosen the J-Hooks securing the cover to the frame.
- Lay out a tarp on one side of the dome to protect the cover.
- Attach a rope to the other side of the cover (you can pull it through one of the tensioning bars), throw the rope over top of the dome and pull from the other side to allow the cover to come up. Once it is pulled past the peak, it will fall down the other side on it’s own.
- Fold and roll the cover into a manageable bundle (it likely will never go back into it’s original bag)
- Store the cover in a dry, clean space
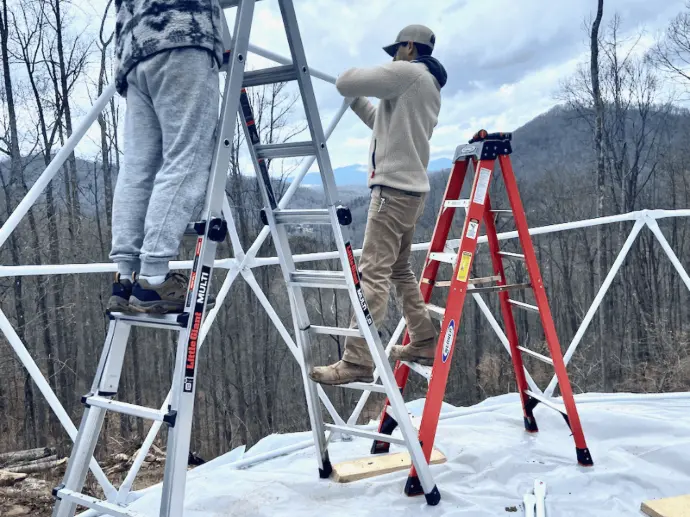
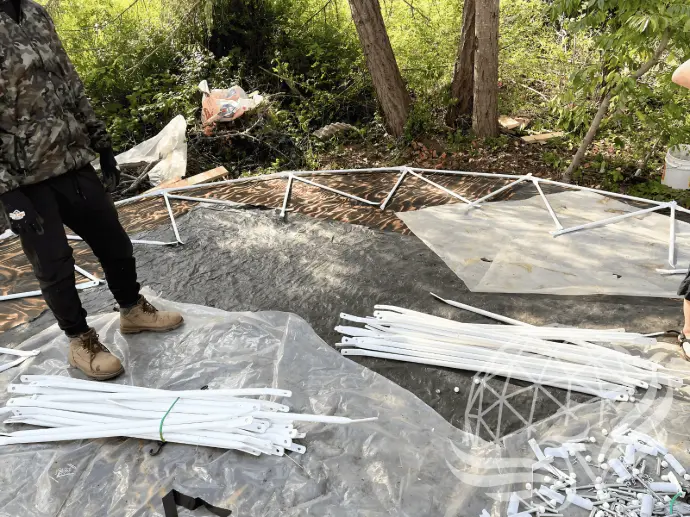
Step 3: Disassemble the Frame
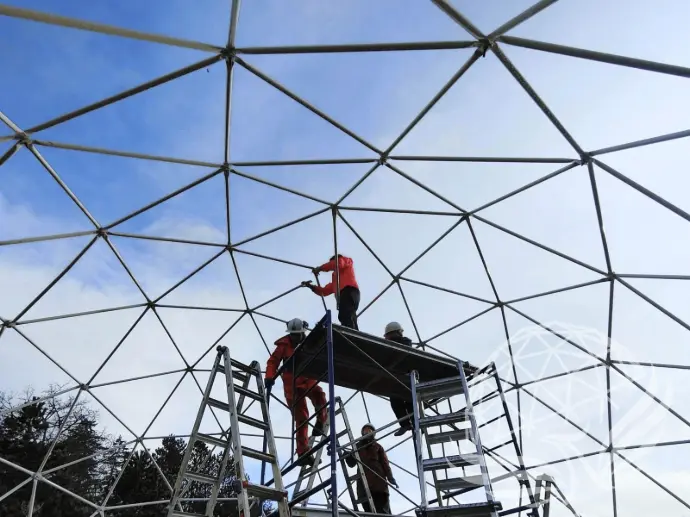
- Start at the top and work your way down, removing the highest struts first.
- Wear hard hats!
- Pass any removed struts down to a helper who can stack them by size. Do not throw the struts down or drop them!
- Keep bolts and fasteners organized by storing them in labeled containers.
5. Group struts by length to make reassembly easier.
6. Stack the frame components neatly on a tarp or moving blanket to prevent scratching.
7. If you still have the original crate, it can be used to hold the struts again.
8. If a dome is being assembled and disassembled more frequently, such as an event dome, it may make sense to colour code the struts with tape to make it easier in future.
Step 4: Transporting and storing Your Dome
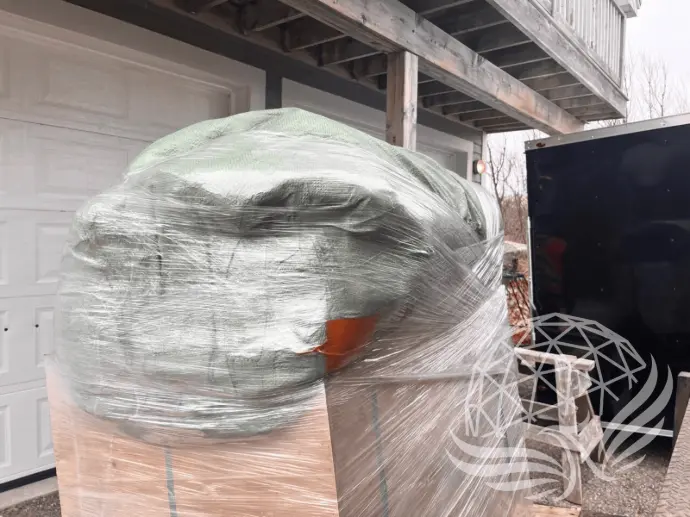
- Use a trailer or truck bed to transport the disassembled parts.
- Secure components properly with straps to prevent shifting during transit.
- If storing long-term, keep all materials in a dry space to avoid rust or mildew
- If moisture is trapped in the folded cover, the clear PVC may appear milky when unfolded. This will clear up within a few days after installation once it has airflow on both sides.
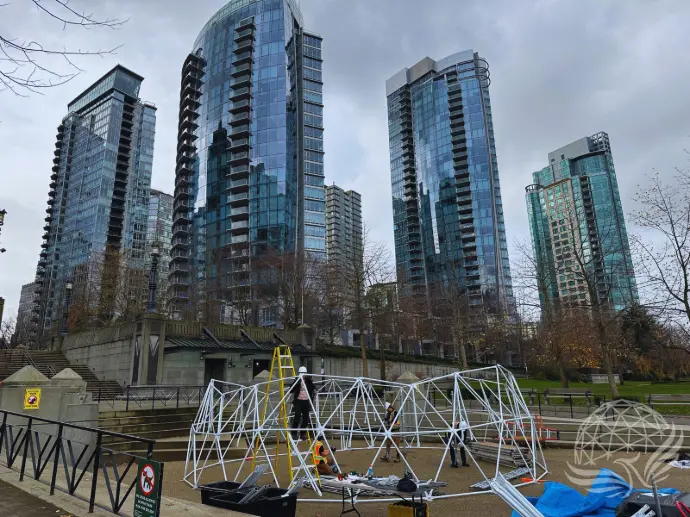
Step 5: Reassembling Your Dome
Once you arrive at the new location, reassembly follows the same steps in reverse order:
- Lay out all components and confirm you have everything needed.
- Rebuild the frame from the base up, securing each section properly.
- Reinstall the cover, ensuring it is stretched evenly and fastened tightly.
- Add insulation, furniture, and additional features as needed.
- If your dome has triangle glass windows, the window openings may not line up perfectly upon re-installation. In this case, you can use white RV tape, or glue strips of cover material to bridge any gaps and ensure water-tightness for the future.
Helpful Tips for a Smooth Move
✅ Take photos before disassembly for reference during reassembly.
✅ colour code frame pieces with coloured tape to make setup easier.
✅ Check for any wear or needed replacements before setting up again.
✅ Chipped paint can easily be touched up with white rust paint.
If your dome has been spray foamed, or has a glass panorama window, we do not recommend trying to disassemble it.
By following these steps, you can successfully move your Phoenix Dome with minimal hassle, preserving its structure and longevity for years to come.