
Disclaimer:
Our domes are technically tents. They are very nice tents, beautiful and strong tents, tents that can last for many many years outdoors, tents that can withstand snow storms and hurricanes, and are very good at keeping the weather out. Many people use them year round even in cold climates, and can stay cozy with a good heat source.
However, they are still tents. As such, they are made from (comparatively) lightweight and thin materials that can pack down and ship relatively easily, and be assembled in a matter of hours or days. They are also made from comparatively low-cost materials, to be affordable and accessible. These domes are not a ‘Building’. They will not conform to residential building codes, at least not without some upgrades. (*depending on your area)
The Reflective Bubble layer included in our 4-season glamping package makes a big difference for heating the dome, however it cannot be expected to perform like the insulation in a house. It will reflect heat back into the space when a heat source is on, but won’t stop heat transfer much once it is out.
We are aware that many companies out there make false claims about the performance of reflective insulation, such as exaggerated R-Values. While the combination of the dome cover, air space, reflective layer, and interior liner is estimated to have an overall performance similar to R5, it is unlikely that another company’s similar product would have superior performance, no matter what they might claim. For example, doubling reflective bubble wrap will not double the performance, it barely increases it at all, unless there is an additional air space.
This being said, there are things you can do to make your dome feel and perform a lot more like a building and thus cut down a lot on heat loss.
We are always experimenting and prototyping, and have worked out a dome design that can be considered a permanent building and conform to residential building code with insulation meeting modern energy codes, however this requires significant upgrades. The Good news is that upgrades can be done step by step, over time! The next pages will give you examples of what we or some of our customers have done and what we have learned from it.
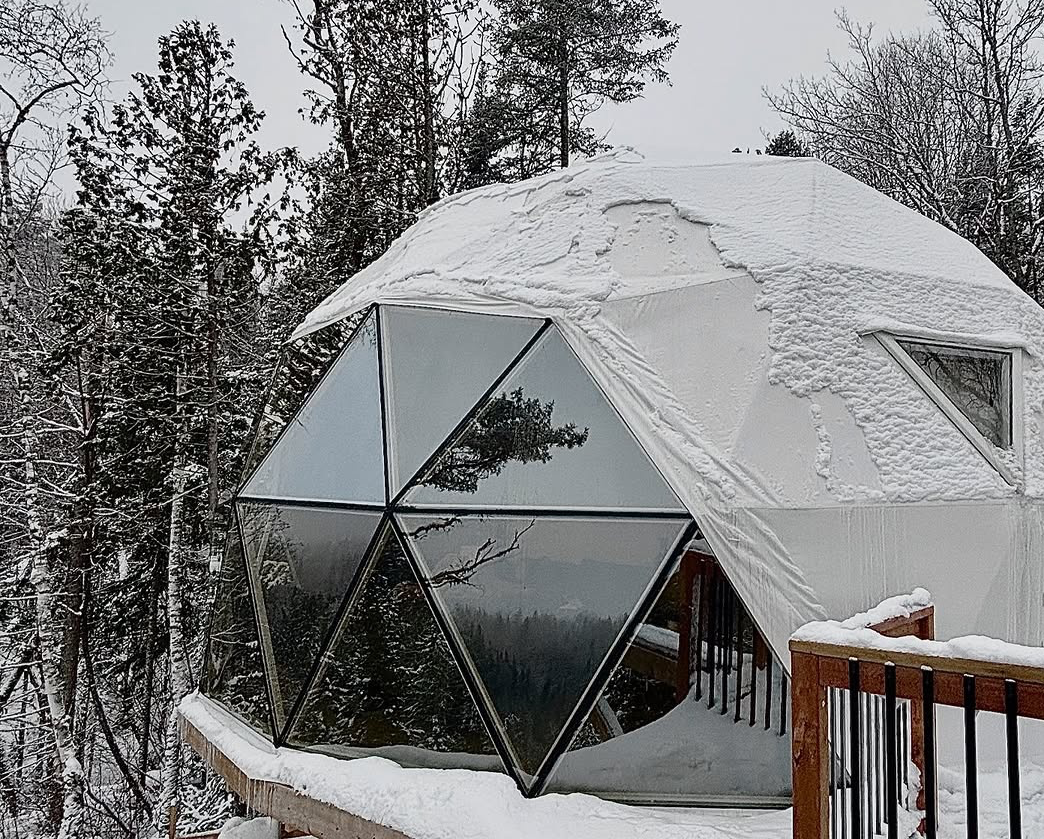
Glass Window Upgrade
Upgrading your clear PVC Panorama Window and Skylight to Glass will make a big difference for energy performance.
Double pane, Argon filled, Low-E glass will keep a lot more heat in - and out!
Our glass has a SHGC (Solar Heat Gain Coefficient) of 0.3 - meaning that 70% of heat are reflected back out - or in, depending on the season!
In addition, it looks amazing and provides crystal clear views.
Spray Foam: Permanent Dome Insulation
Spray-foam is likely the most efficient and effective way to insulate a dome tent.
Advantages:
- Highest R-Value of 6 - 7 per inch
- Easy application - done for you by a local insulation company
- No waste, no off-cuts
- Adheres to the struts and cover
- Eliminates condensation and thermal bridging on the struts and cover
- Acts as a vapour barrier
- Increases structural strength of the dome
- Not affected by moisture - no mold, mildew, rot
- Does not provide anywhere for insects and rodents to live
Cons:
- Not a DIY project - needs to be professionally installed (Do NOT try to get your own kit, it will likely be a disaster)
- Higher upfront costs
- It may be difficult to find an insulation company if in a remote location
- Some installers might be hesitant to work on domes (However, we can refer an installer near you through our partnership with Huntsman Insulation)
- Application is permanent - you will not be able to take the dome down again and disposing of it would create a lot of waste
Exterior Spray Foam on a Finished Dome
In one of our recent upgrades, we had spray foam insulation applied to the outside of a fully finished Phoenix Dome , showcasing an excellent alternative for customers who want the benefits of spray foam without disturbing their interior setup.
This method is ideal if your dome is already built out inside (wood paneling, furnishings, etc.) and you don’t want to take everything apart to insulate. By spraying from the outside, you can still achieve a sealed, high R-value thermal envelope that eliminates condensation, prevents thermal bridging, and boosts the dome’s performance year-round.


After spraying, the foam can be painted or covered with our Aluminum Roof Kit for premium durability and weather resistance. Another option would be an Elastomeric roofing paint, or a second PVC cover over top.
This project proves spray foam isn’t just for new builds , it’s also a smart retrofit option. If you already have a finished interior and are looking to winterize your dome, this is a solid solution that doesn’t require major disruption inside.
Rigid Dome Insulation
Advantages:
- High R-Value of 5-7 per inch
- Not affected by moisture - no mold, mildew, rot
- Does not provide anywhere for insects and rodents to live
- Can be installed in a way that allows for the dome to be taken down and reassembled

Cons:
- Tricky DIY project - a lot of cutting and puzzling is required
- Lots of off-cuts and waste
- Gaps need to be sealed somehow or the insulation is not very effective - cans of spray-foam might be an option, rock wool stuffed in the cracks for a non-permanent installation
- Higher upfront costs
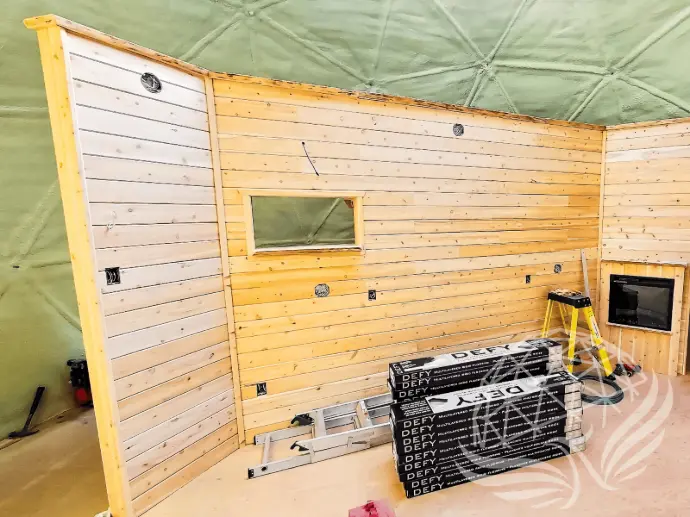
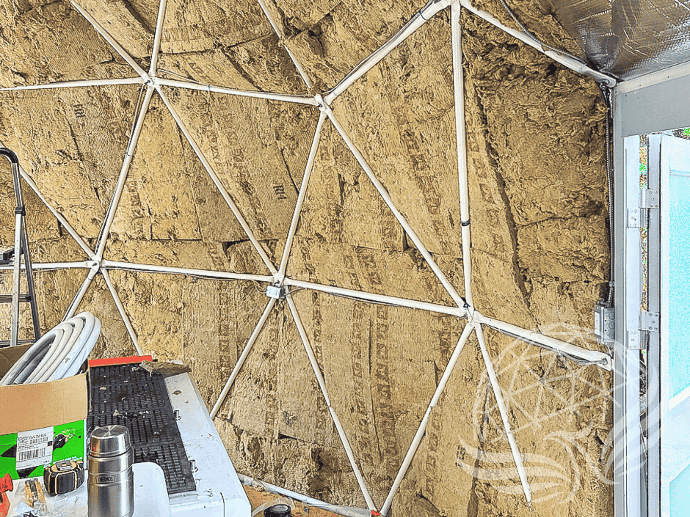
The creative customer pictures above used 3" styrofoam (Korolite) sheets which are inexpensive and commonly available for insulation under slabs. They attached the pieces via zip ties between the struts.
When they first built their dome, they knew it was temporary, so they stuffed the gaps over the struts with fiber-glass batting. After their move to a more permanent location, they used a spray-foam DIY kit to seal the gaps.
Then they installed a gorgeous Wood paneling kit via discs fastened to the hubs! For a 6m dome, the material use is fairly efficient from 4x8 sheets - you can get 3 full triangles and 2 half ones and tape them together.
Unfortunately, this is not the same for other sizes, where there will be a lot more waste/ offcuts. Use a hot knife to cut foam insulation to
reduce the mess!
Rockwool (batting insulation):
Advantages:
- Fairly inexpensive
- Commonly available materials
- Mold and mildew resistant
- Rodent resistant
- Can be installed in a way that allows for the dome to be taken down and reassembled
Cons:
- Tricky DIY project - can be quite messy
- Lower R-value of 3.5 and that only applies when properly sealed
- Moisture could be trapped in the insulation cavity - although it doesn’t affect rockwool itself much, it is something to watch for
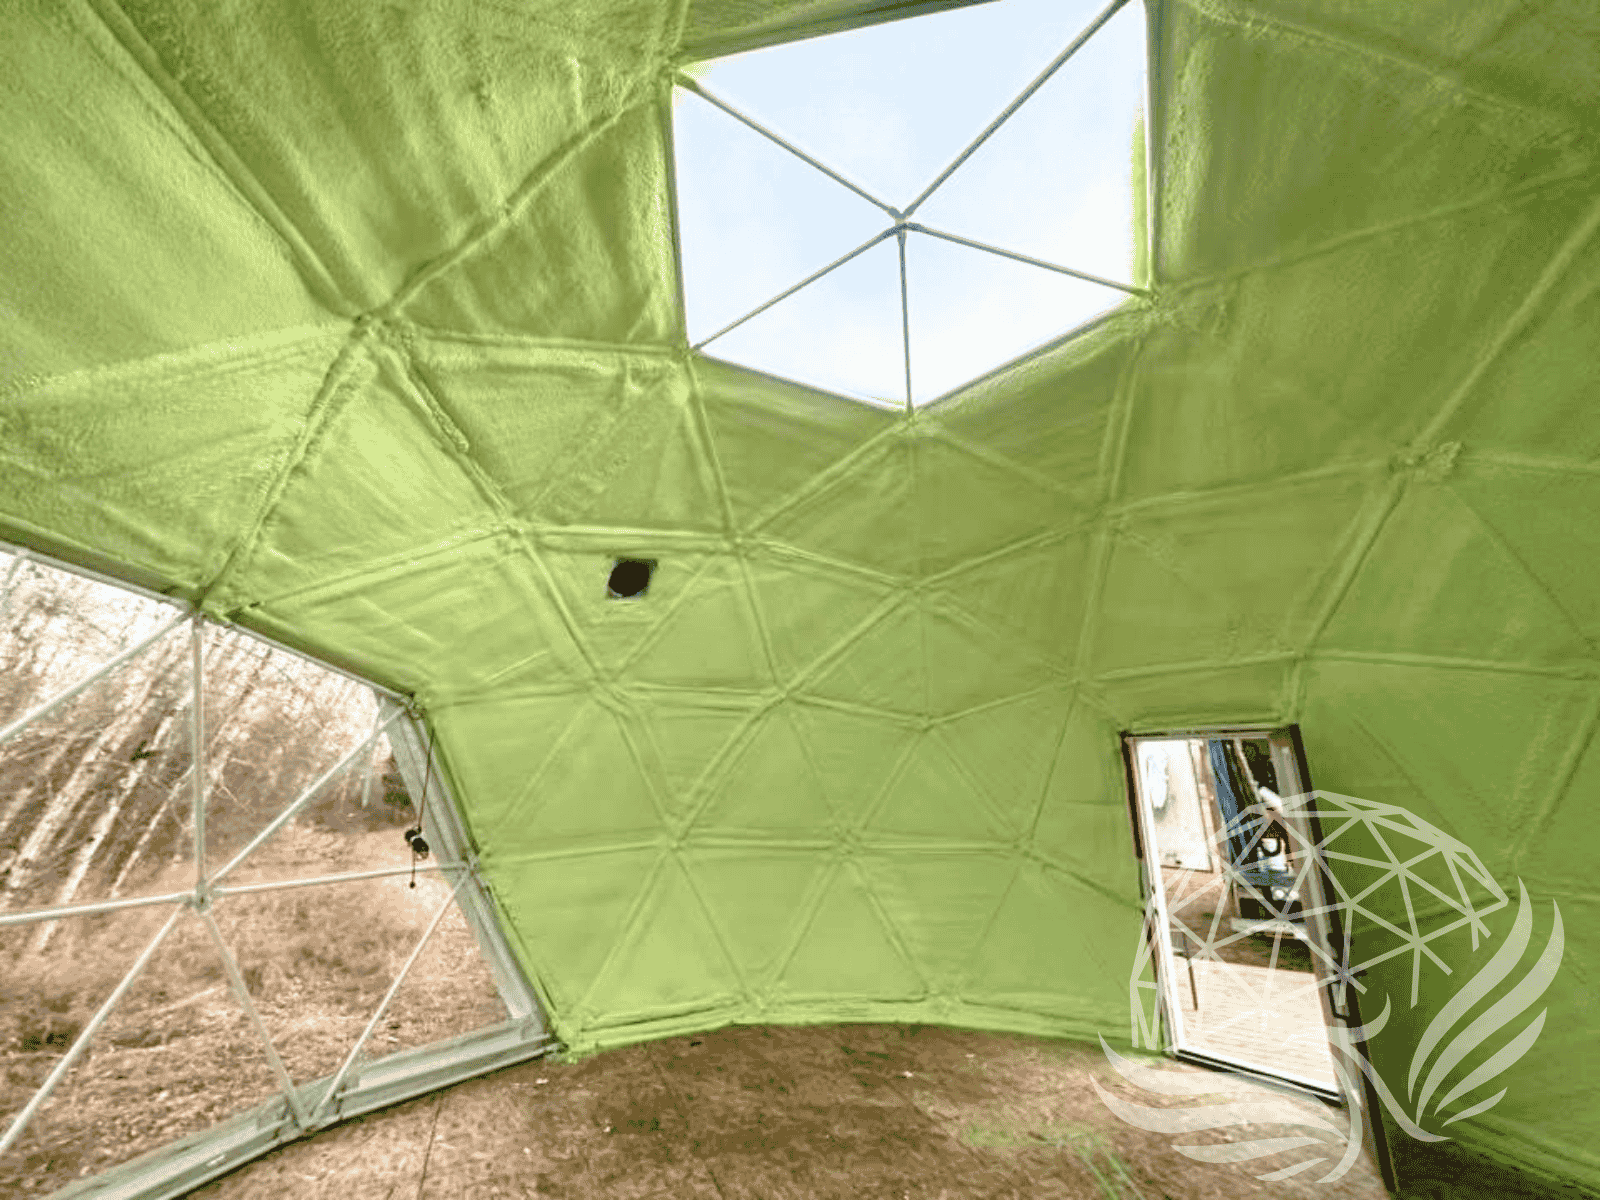
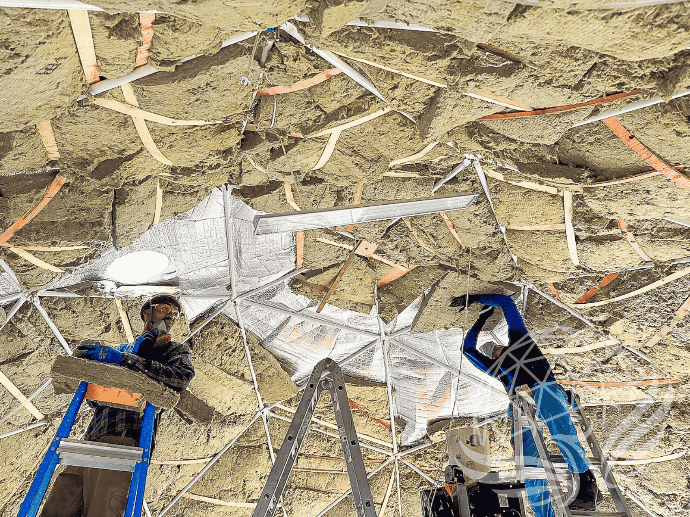
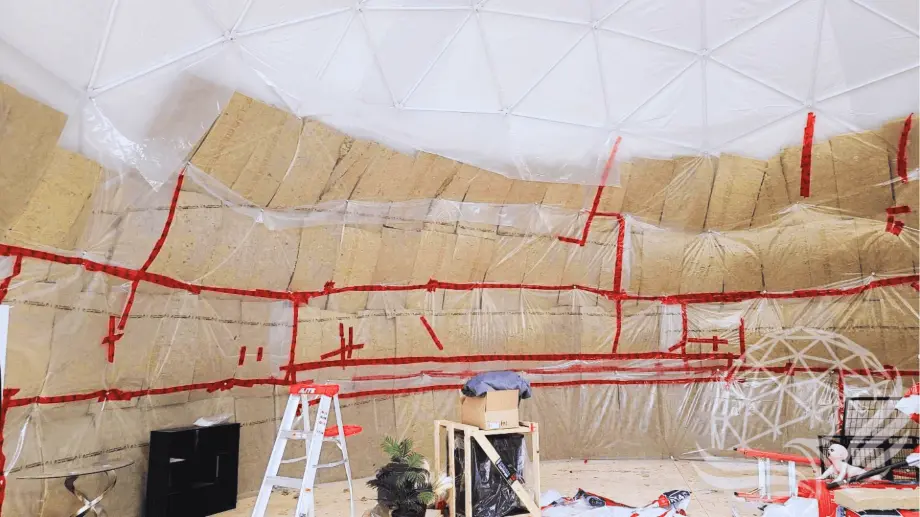
The customer pictured below is installing rockwool in his rather large, 12m/39' 5V residential dome. His method is to attach the vapour barrier via the cap nuts on the bolts, pulling it tight, taping any creases, and sliding the insulation in behind. We would recommend using larger washers, like fender washers or plywood discs, on the hubs to spread out the tension on the vapour barrier and prevent tears.
As of writing this guide, the customer had not completed his dome so we do no know how well it went once he got up to the top... It sure looks quite cozy though!
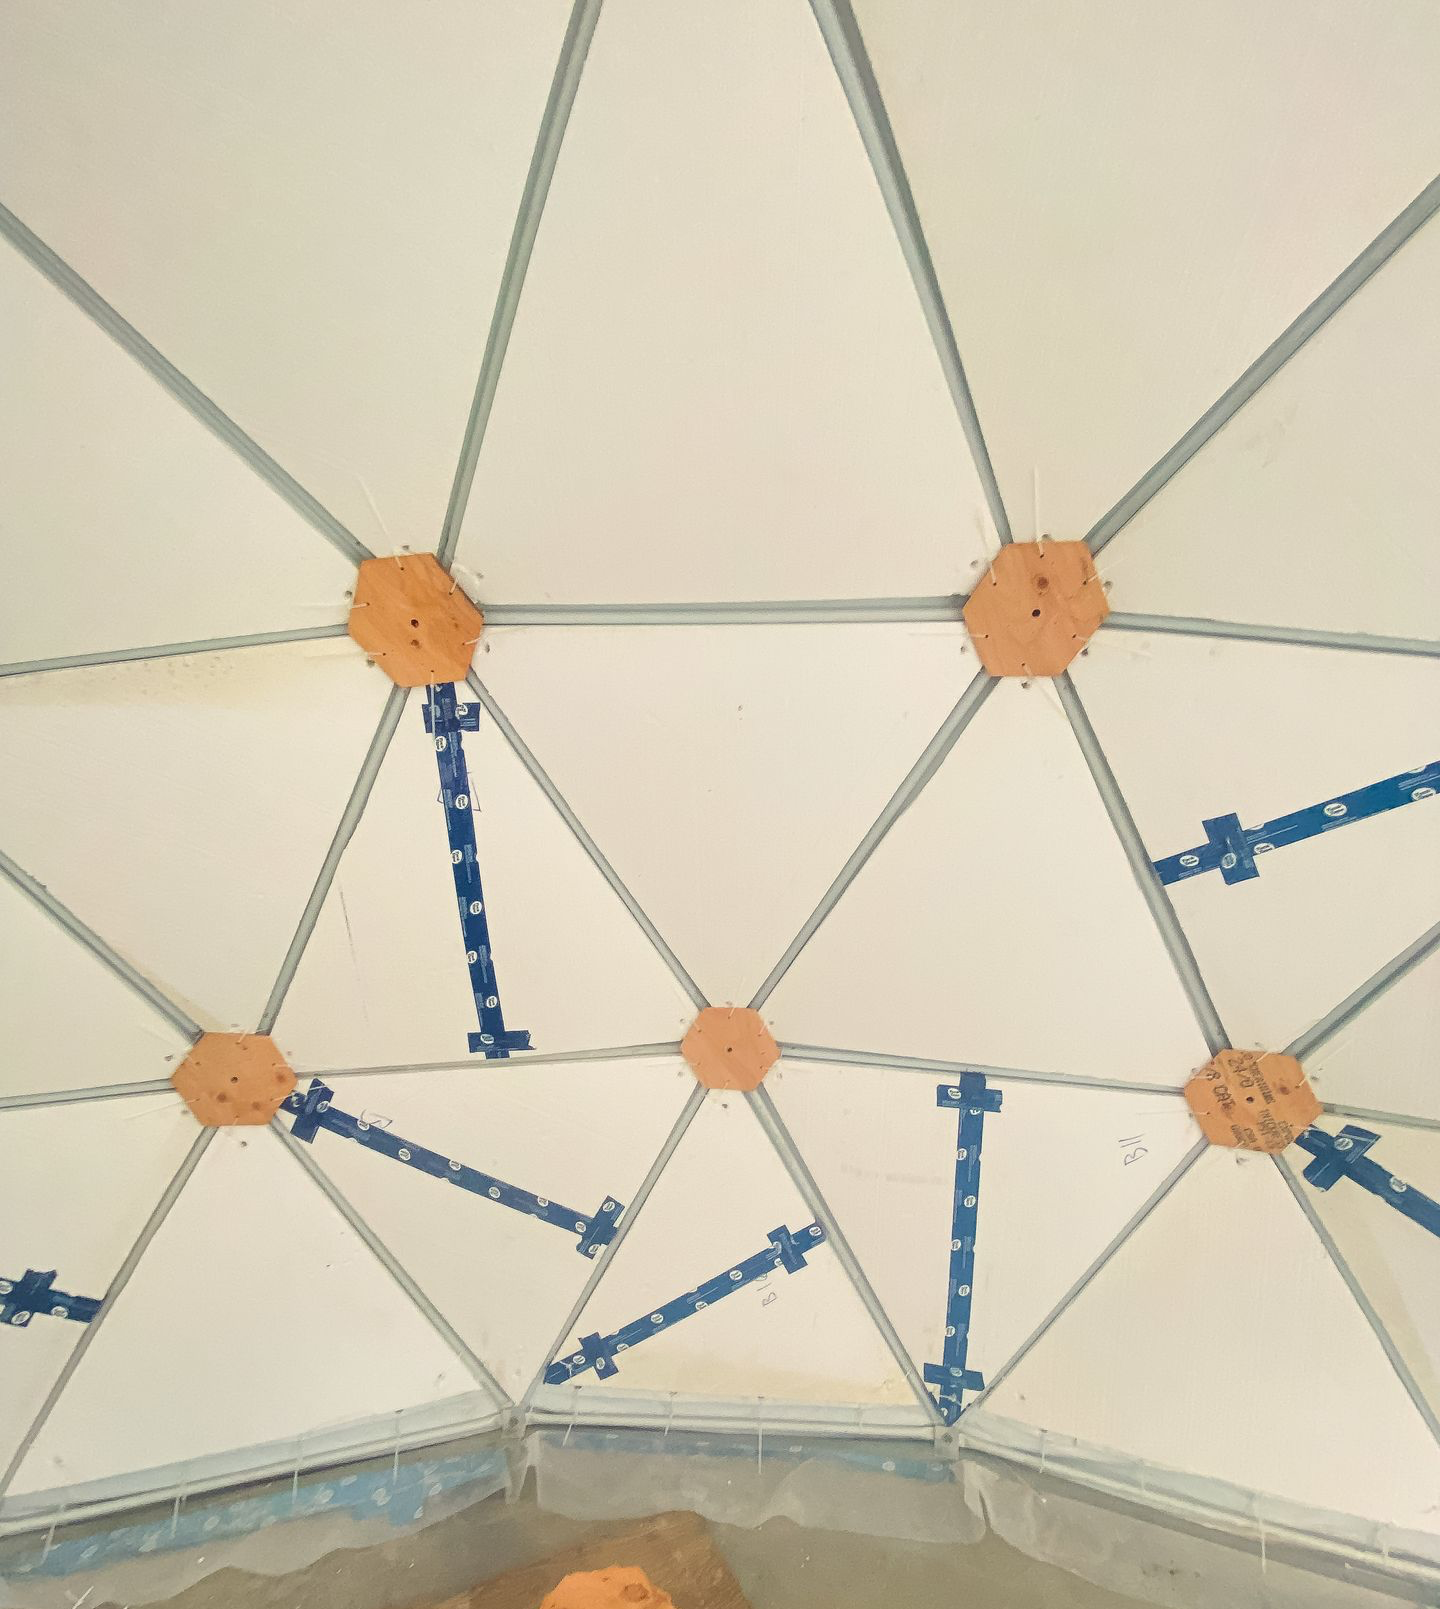
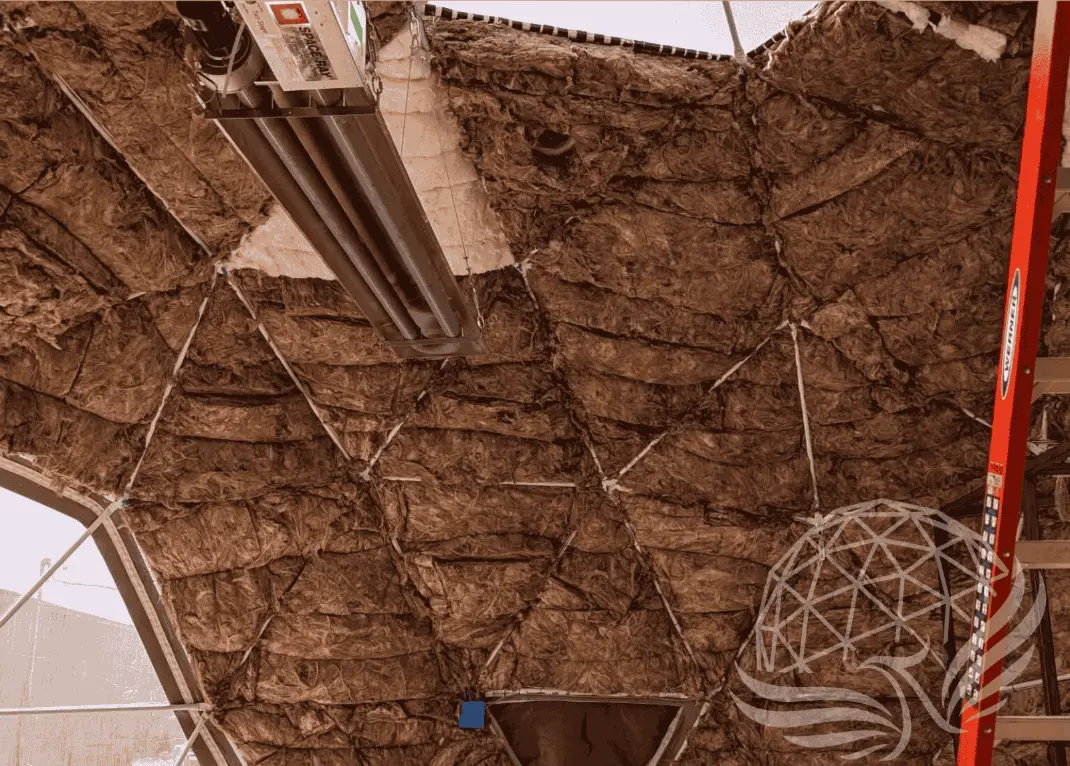
Pictured above is our own project, our CNC workshop dome. Our contractors couldn’t figure out a good way to cover it with the vapour barrier first, so decided to stuff it behind the frame struts to hold it in. Wishing we had had the information from the other customer before, as it was a very messy project. As it curved up, it was getting harder and harder to hold the insulation in, we used strips of plywood to wedge it into the triangles. Since our covers are a very tight fit especially on the 3V domes, it got very tight the further we got up!
With this method it is key to release the tension at the bottom of the cover, but tension around the panorama window to the max to avoid any undue strain on the zipper. It is best to do this before glass window installation as the added tension can make the seals around the windows pop open - we had to glue on extra strips to cover the gaps.
This method will also give the dome a more soft, rounded look - some people may prefer this, some not...
Since we are planning to install wood
paneling in this dome, I think it would have
been a lot easier to have the panels
ready to go, as they could have been
installed right after the insulation and
vapour barrier went on, thus holding it in a
lot more easily at the same time.
From our limited experience with installing rockwool, we would recommend putting it over top of the struts with the previous page’s vapour barrier method, lock it in with plywood mounting discs, and installing wood paneling at the same time for a smooth process.
We have not had long-term performance reports to see if there might be any moisture/condensation issues with this method in the long run...
We would advise having an air space between the top of the insulation and the dome cover, and installing a solar fan at the top, in order to ensure that any condensation/moisture in the insulation cavity has a chance to vent out.
A second layer of reflective Bubble Insulation
Advantages:
- Comparatively cheap
- Easy to install
- Easy to take down again
Cons:
- Doubling the reflective insulation does NOT double the performance of the product!
- For any added performance, an additional air space between the layers is required
- Rather low R-Value compared to the other options listed
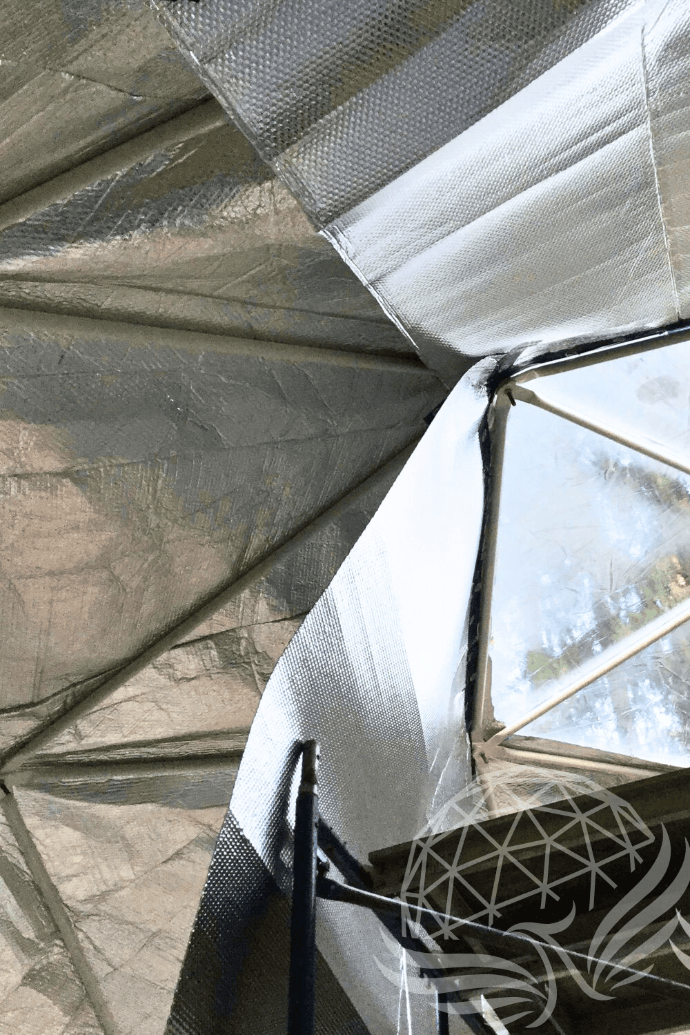

This method can be used when one layer of insulation is on the outside of the struts, and the second one is added on the inside, leaving an air barrier.
Without an additional air space between the layers of reflective bubble wrap, there is next to no additional gain in R-Value, despite what some suppliers might claim.