
The outside of a geodesic dome is instantly memorable. Its curved shape, triangular geometry, and open volume create a structure that feels both modern and natural. But once people begin planning a dome project, one of the first practical questions is: how do you design the inside?
Interior design in a dome is different from designing a rectangular building. The curved perimeter, sloping walls, open ceiling, and near-circular footprint create beautiful possibilities, but they also require thoughtful planning. Furniture, storage, bathrooms, kitchens, beds, and partitions all need to work with the shape rather than against it.
The good news is that round buildings are not a new design challenge. Yurts, rotundas, circular cabins, and other round structures provide plenty of useful floor-plan inspiration. Many of the same principles translate beautifully to geodesic domes, with one additional consideration: unlike the vertical wall of a traditional yurt, the dome begins to slope inward as it rises.
Whether you are designing a compact studio dome, an 8 m glamping suite, a 10 m guest space, or a larger dome for residential, retreat, or commercial use, the key is to create zones that feel natural within the curve.
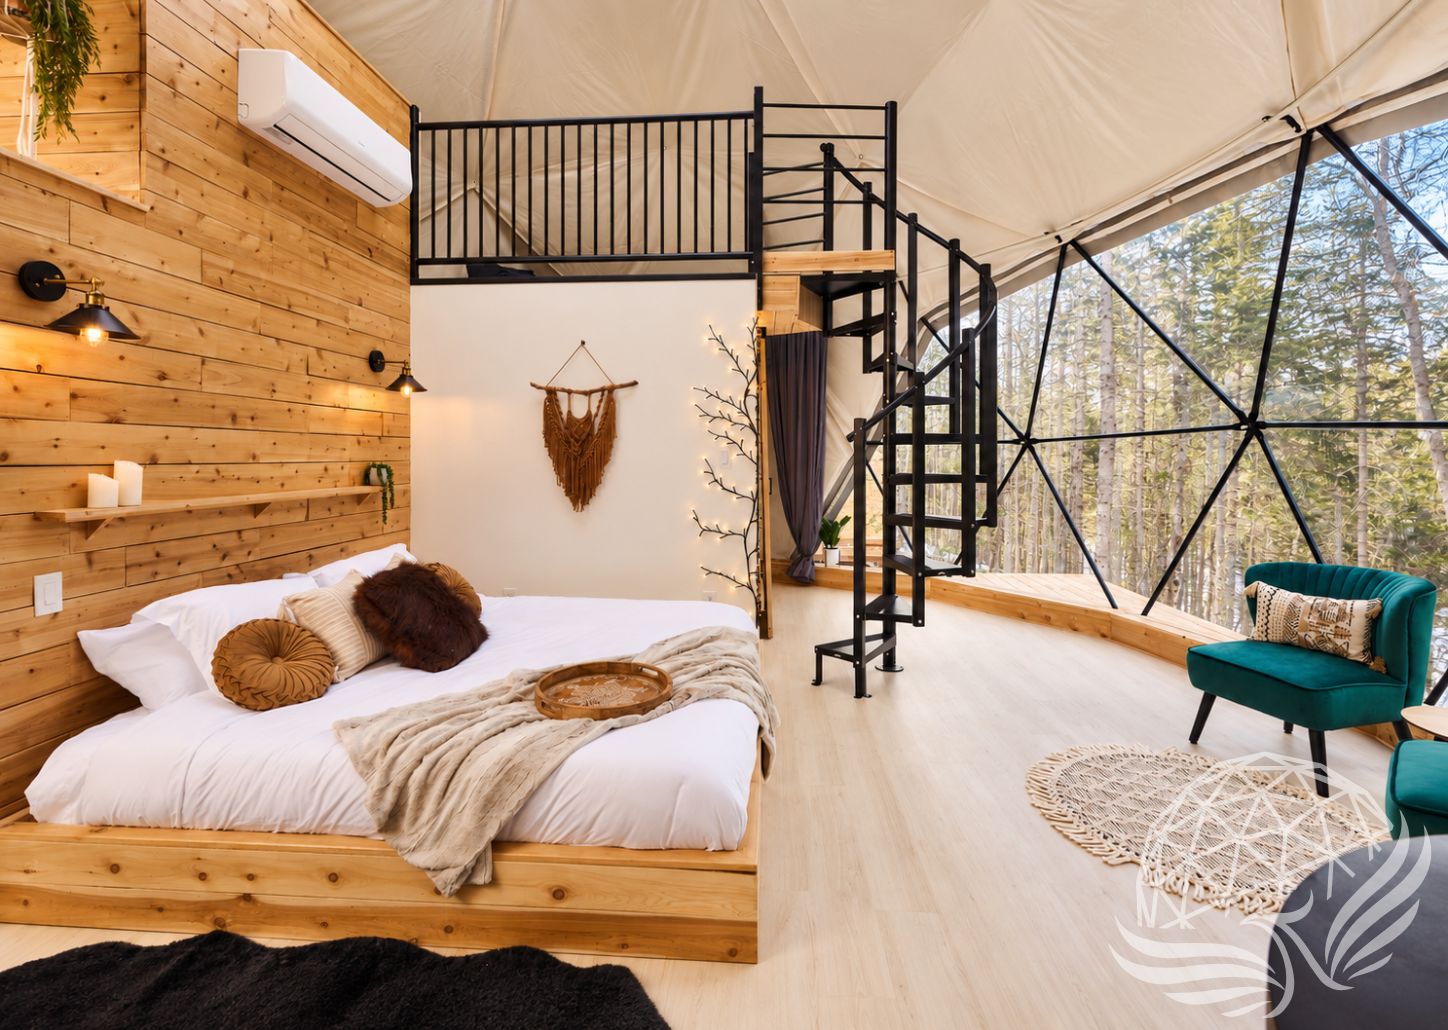
Let the Dome Stay Open Where Possible
One of the most special qualities of a dome is its sense of openness. The structure naturally draws the eye upward and can make even a relatively compact floor area feel spacious.
Whenever possible, avoid dividing the entire dome into conventional rectangular rooms.
In a 5 m or 6 m dome, keeping the layout simple is especially important. Too many partitions or large pieces of furniture can quickly make the space feel crowded. These sizes often work best around one primary purpose: a lounge, studio, greenhouse, meditation space, treatment room, office, or compact guest retreat.
As the dome gets larger, more functions can be introduced without losing that openness. An 8 m, 9 m, or 10 m dome can accommodate combinations such as a sleeping area, sitting area, kitchenette, bathroom, dining space, and storage while still retaining a generous central volume.
The goal is not necessarily to eliminate interior walls. It is to use them strategically.
Use Interior Walls to Create Flat Surfaces
One of the most useful design strategies inside a dome is to introduce a small number of straight interior partition walls.
A T-shaped wall, for example, can perform several jobs at once. It can enclose or partially enclose a bathroom, separate sleeping and living zones, conceal plumbing and electrical services, and, very importantly, provide straight vertical surfaces for standard furniture and cabinetry.
This can make kitchen and bathroom design much simpler.
Instead of trying to fit every cabinet or appliance against the outer shell, a flat interior wall can accommodate:
- Standard kitchen cabinets
- A refrigerator
- Bathroom vanities
- Wardrobes
- Shelving
- Plumbing fixtures
- Electrical panels
- TVs and media equipment
- Desks or workstations
A carefully positioned service wall can therefore create a surprisingly conventional kitchen or bathroom within an otherwise unconventional structure.
It can also create privacy without sacrificing the openness of the rest of the dome.
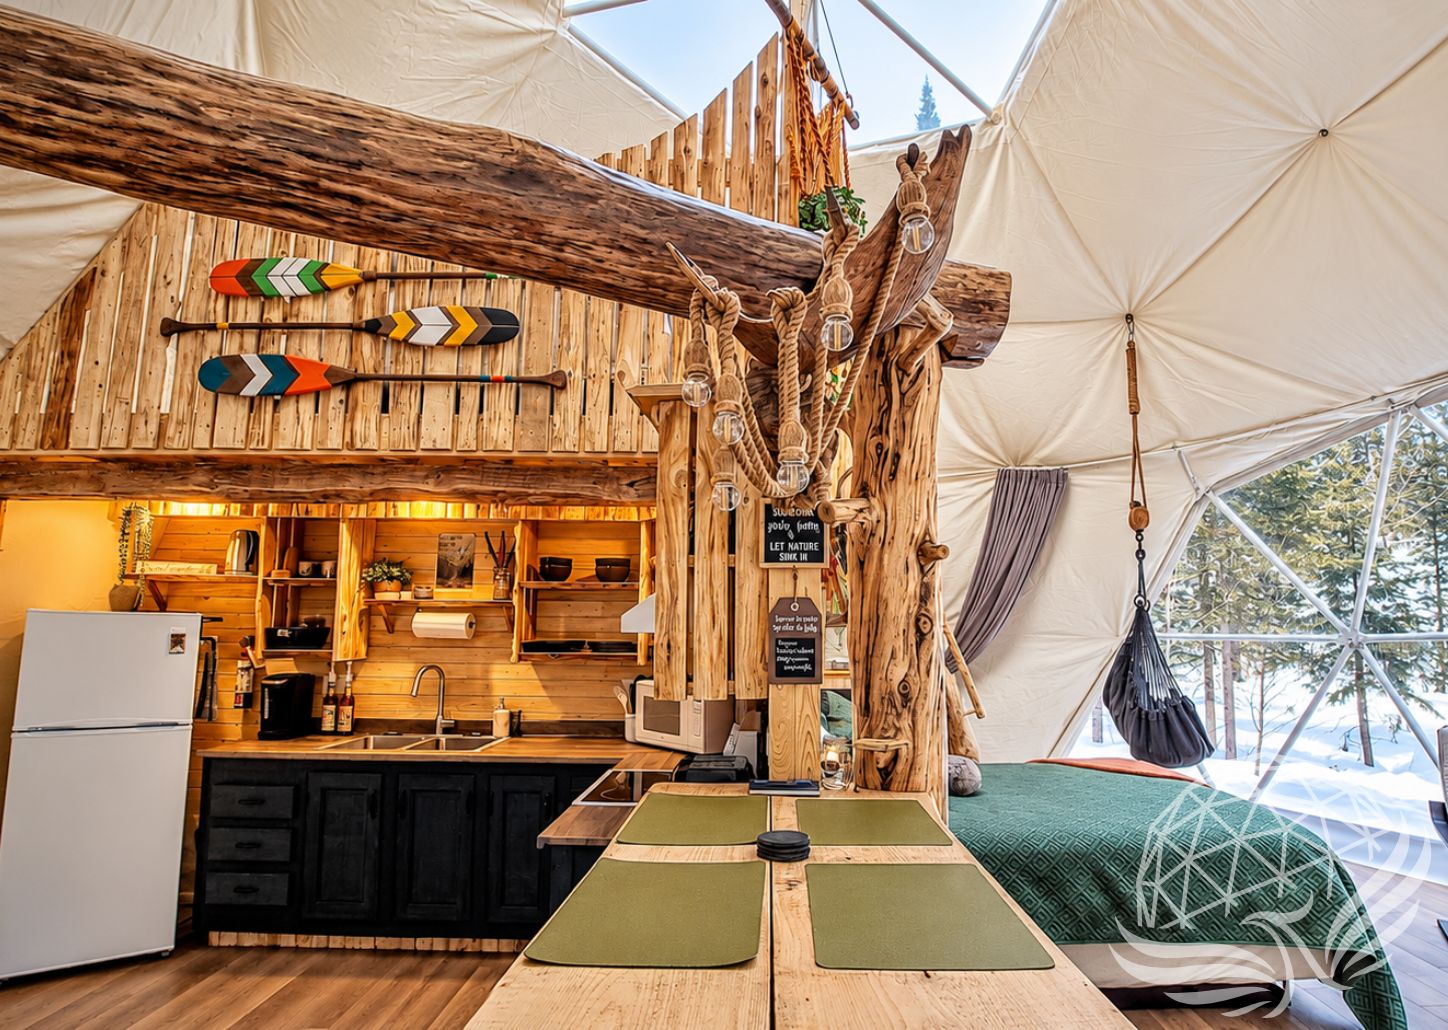
There is another advantage to planning these walls early: in a larger dome with a loft, a T-wall or other substantial interior partition can potentially be designed as part of the loft-support system. For example, the wall enclosing a bathroom or service area can also provide support toward the front of the loft above it.
This allows the same element to serve several purposes at once, privacy, utilities, cabinetry, space division, and structural support — rather than adding a separate wall purely for the loft.
Any loft-support wall or structural connection should, of course, be incorporated into the project’s structural design rather than treated as a non-structural partition.
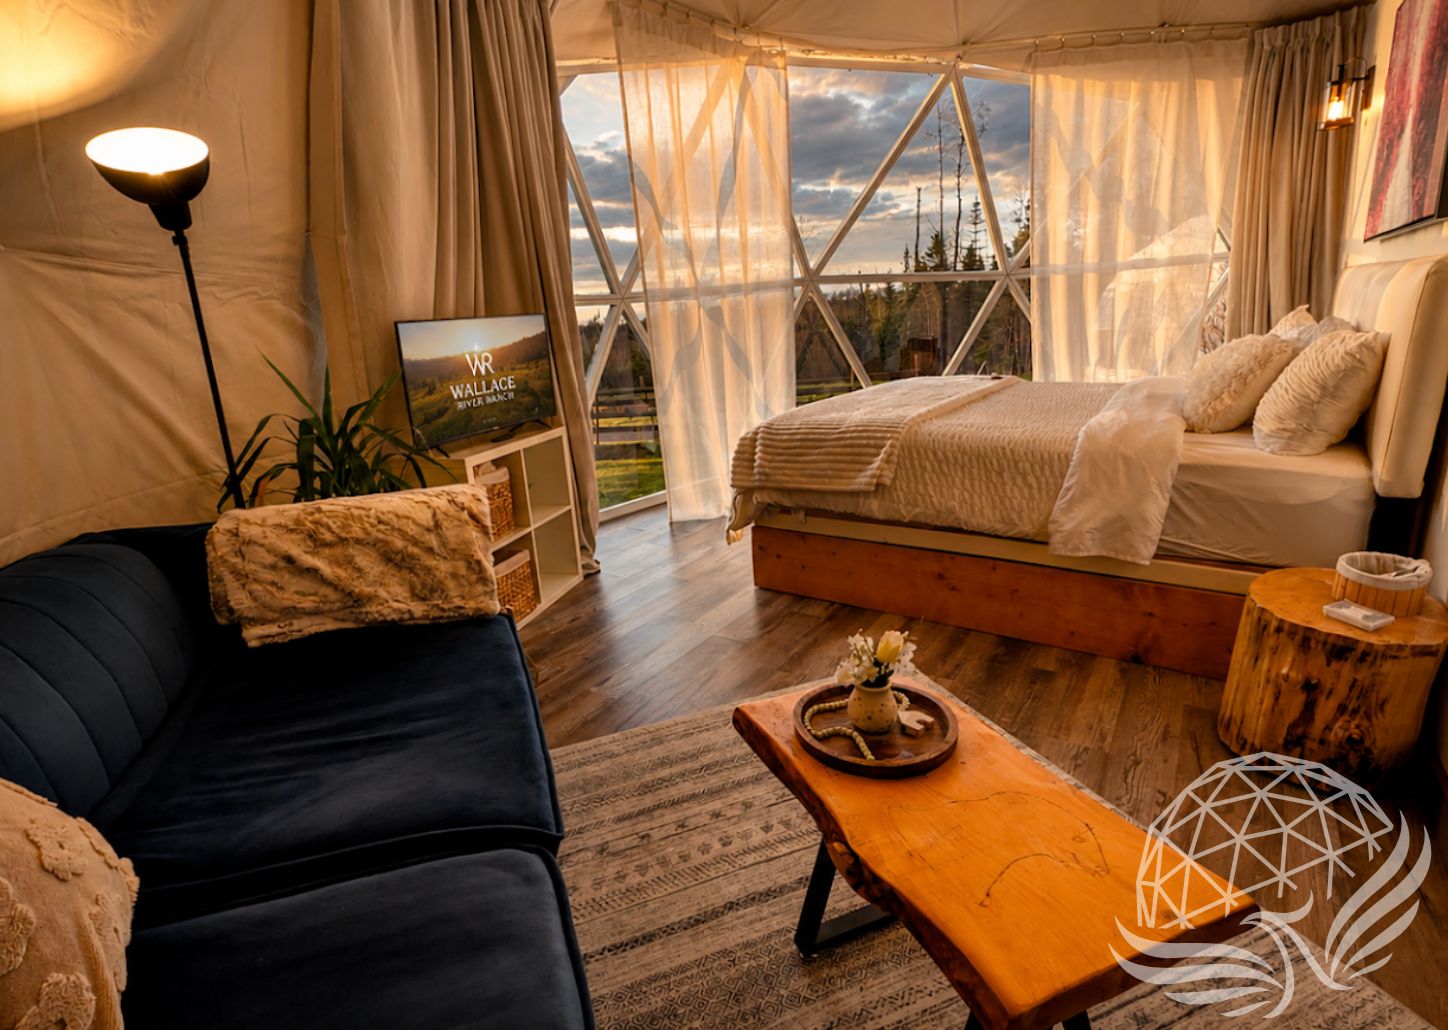
Place the Main Feature First
Start by deciding what the main feature of the dome will be.
This might be a bed, seating area, dining table, yoga floor, greenhouse growing area, desk, wood stove, bathtub, kitchen island, or central gathering space.
Once that element is positioned, the rest of the layout can support it.
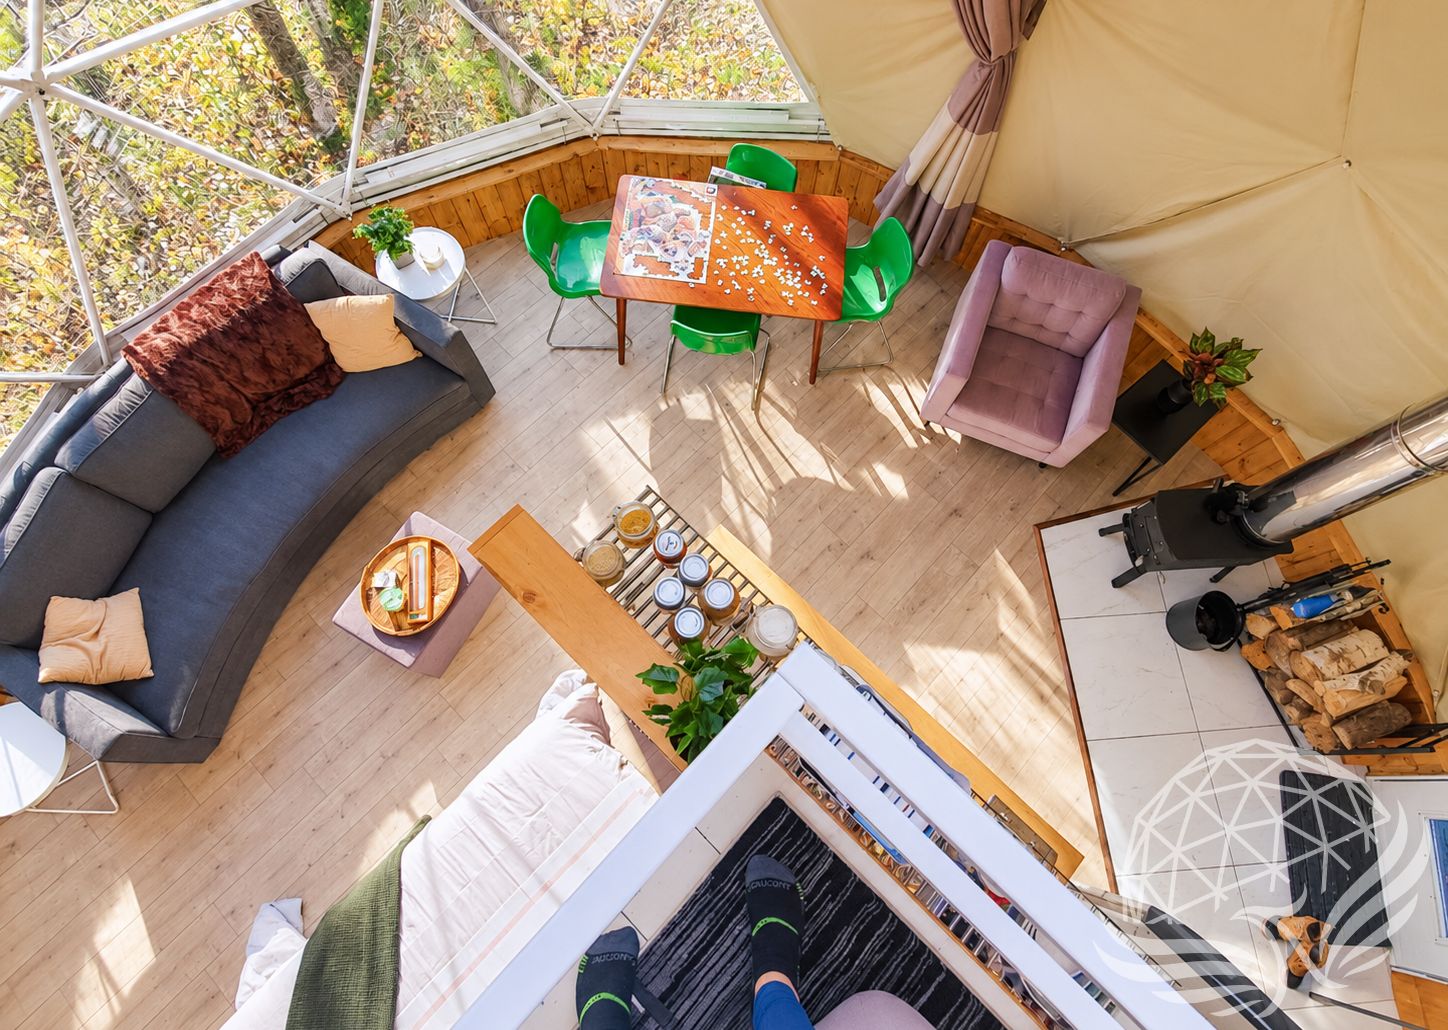
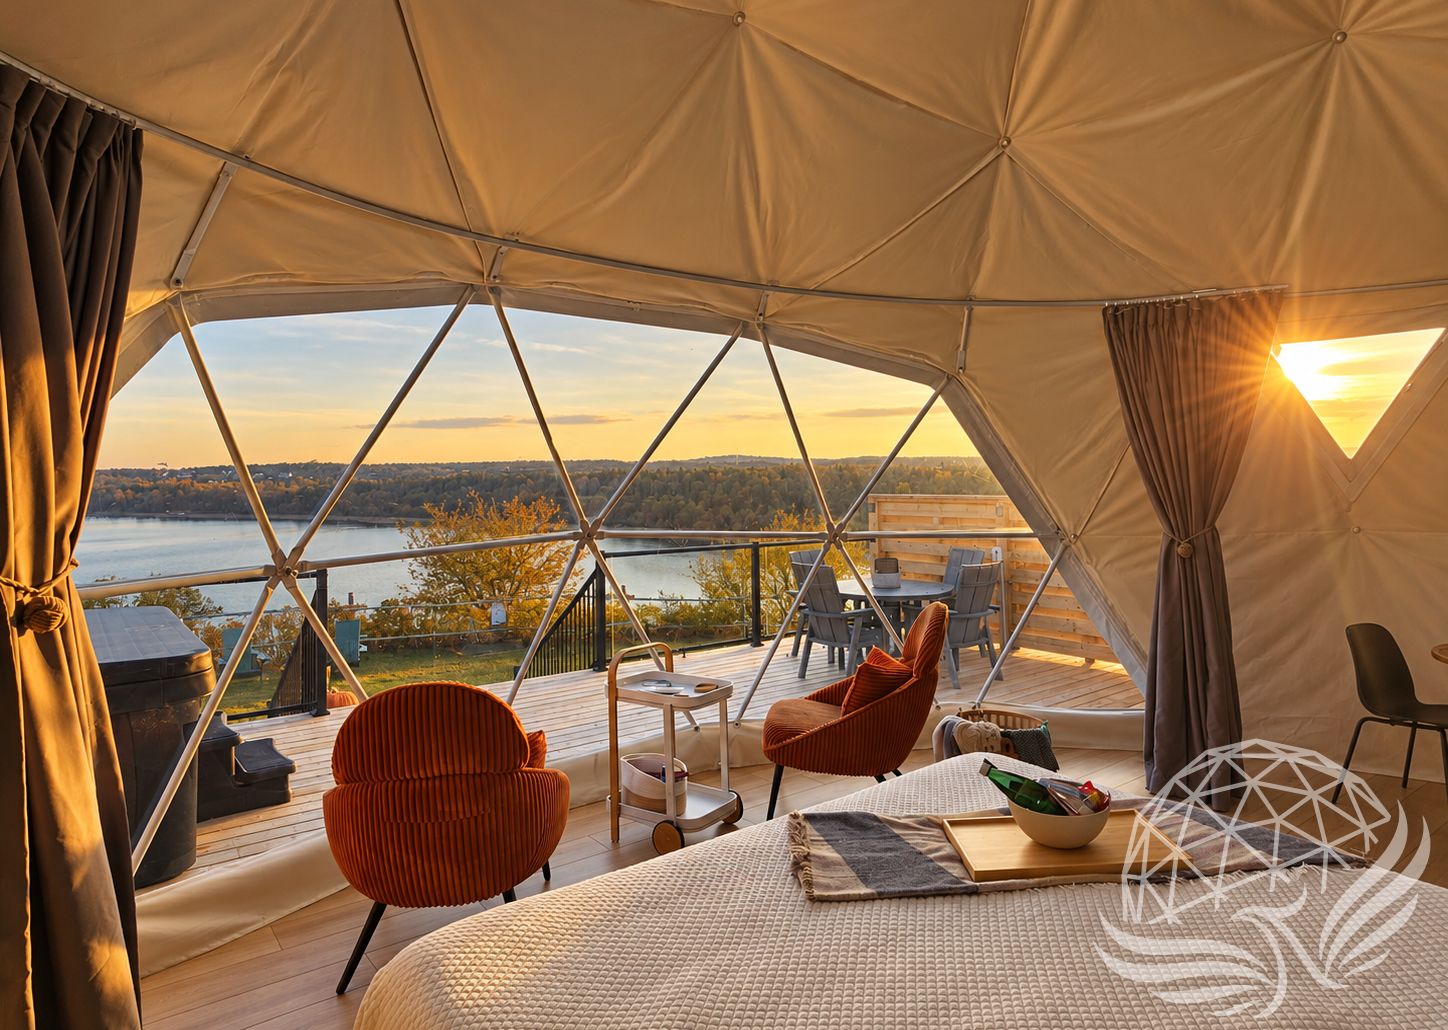
For a glamping dome, the bed is often the focal point. It might face a panorama window, forest view, mountains, ocean, or fireplace.
For a studio, the primary work area may need the best natural light.
For a wellness space, the centre of the dome may remain almost completely open.
For a greenhouse, growing beds, towers, and work areas can be positioned according to sunlight and circulation.
Giving the interior a clear focal point prevents the room from feeling like furniture has simply been placed around the perimeter.
Design Around the View
One of the greatest advantages of a dome is the connection it can create between the interior and the landscape.
If the dome includes a panorama window, glass section, skylight, or particularly beautiful view, consider that feature before deciding where the major furniture pieces will go.
Beds, sofas, dining tables, desks, freestanding bathtubs, and yoga areas can all be oriented toward the view.
The area directly beneath a panorama window can also be an excellent place for furniture that follows the curve.
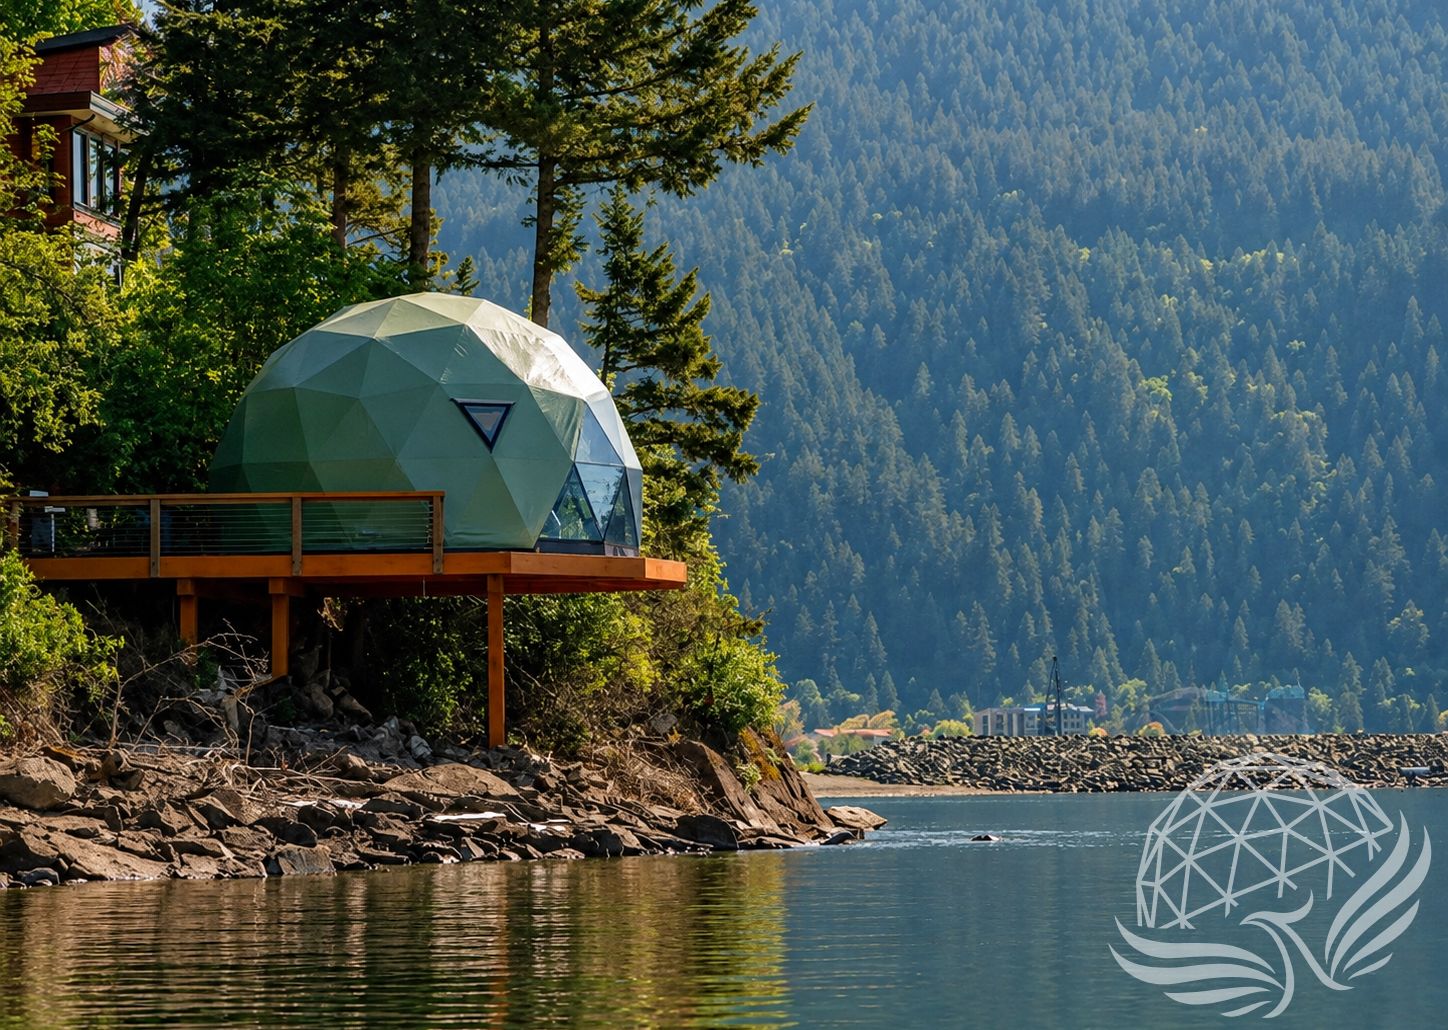
A curved bench, banquette, sectional sofa, or custom daybed can turn the window into a destination within the room rather than simply an opening in the wall.
This can be particularly effective in hospitality and glamping spaces, where guests naturally gravitate toward the best view.
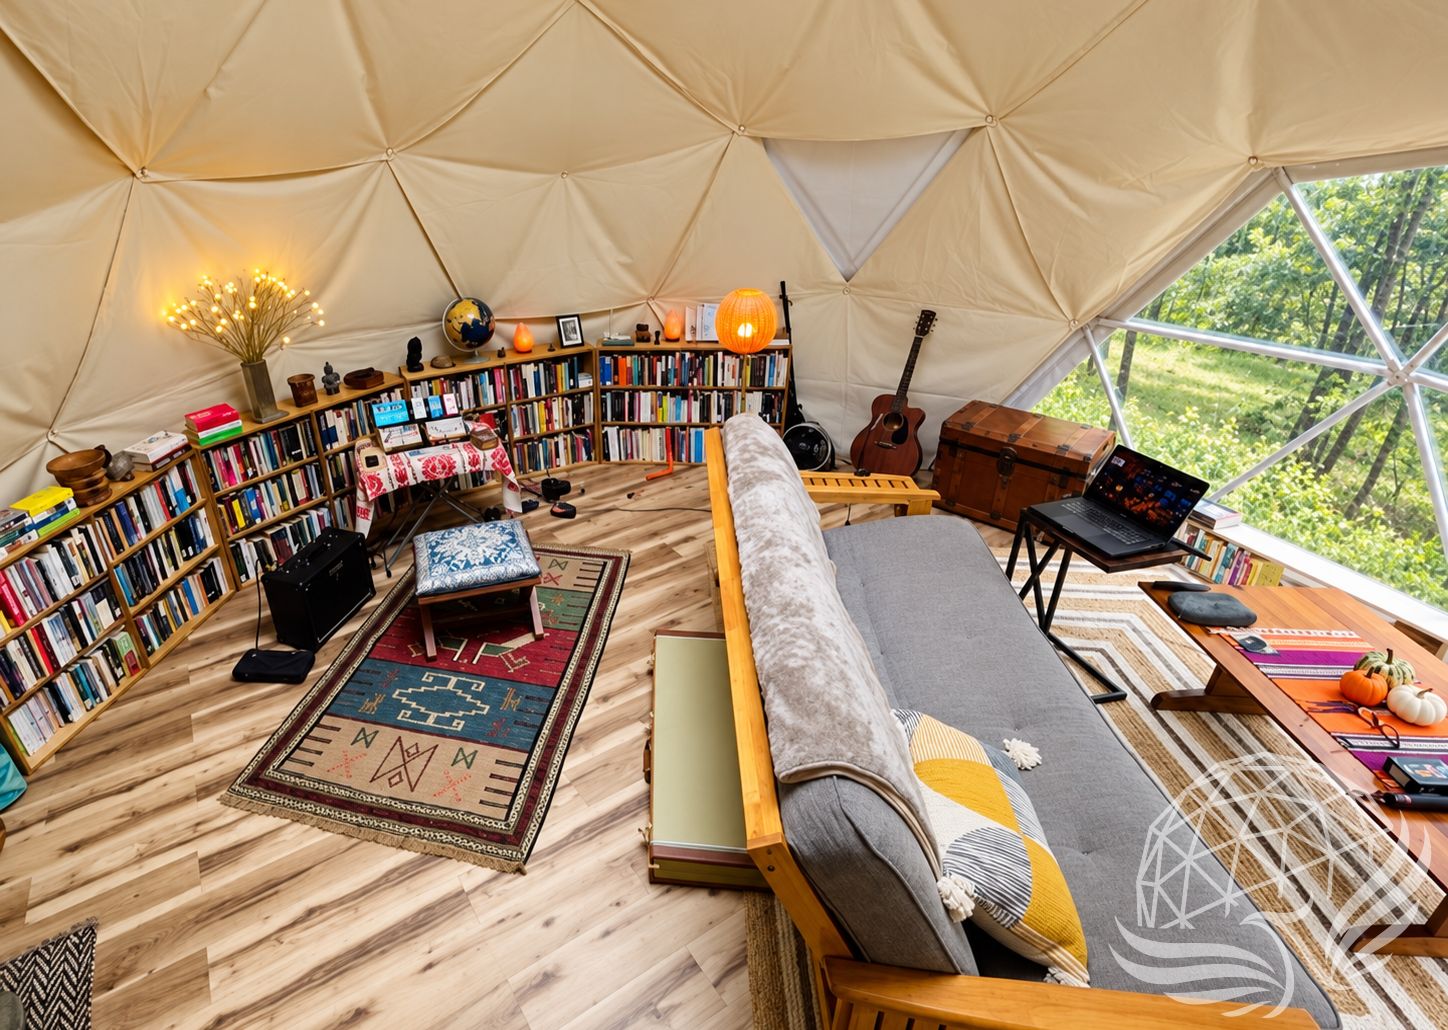
Use the Perimeter Wisely
The outer perimeter of a dome is valuable space, but furniture selection matters.
Because the wall slopes inward as it rises, low furniture generally works best near the exterior shell. Taller furniture can move further toward the centre or against interior partition walls.
Good perimeter uses include:
- Low shelving
- Benches
- Built-in seating
- Curved couches or banquettes
- Storage trunks
- Beds with low headboards
- Low dressers
- Planters
- Side tables
- Small desks
- Decorative lighting
This doesn't mean everything needs to be custom-made. Standard furniture often works perfectly well; it simply needs to be positioned with enough clearance behind it.
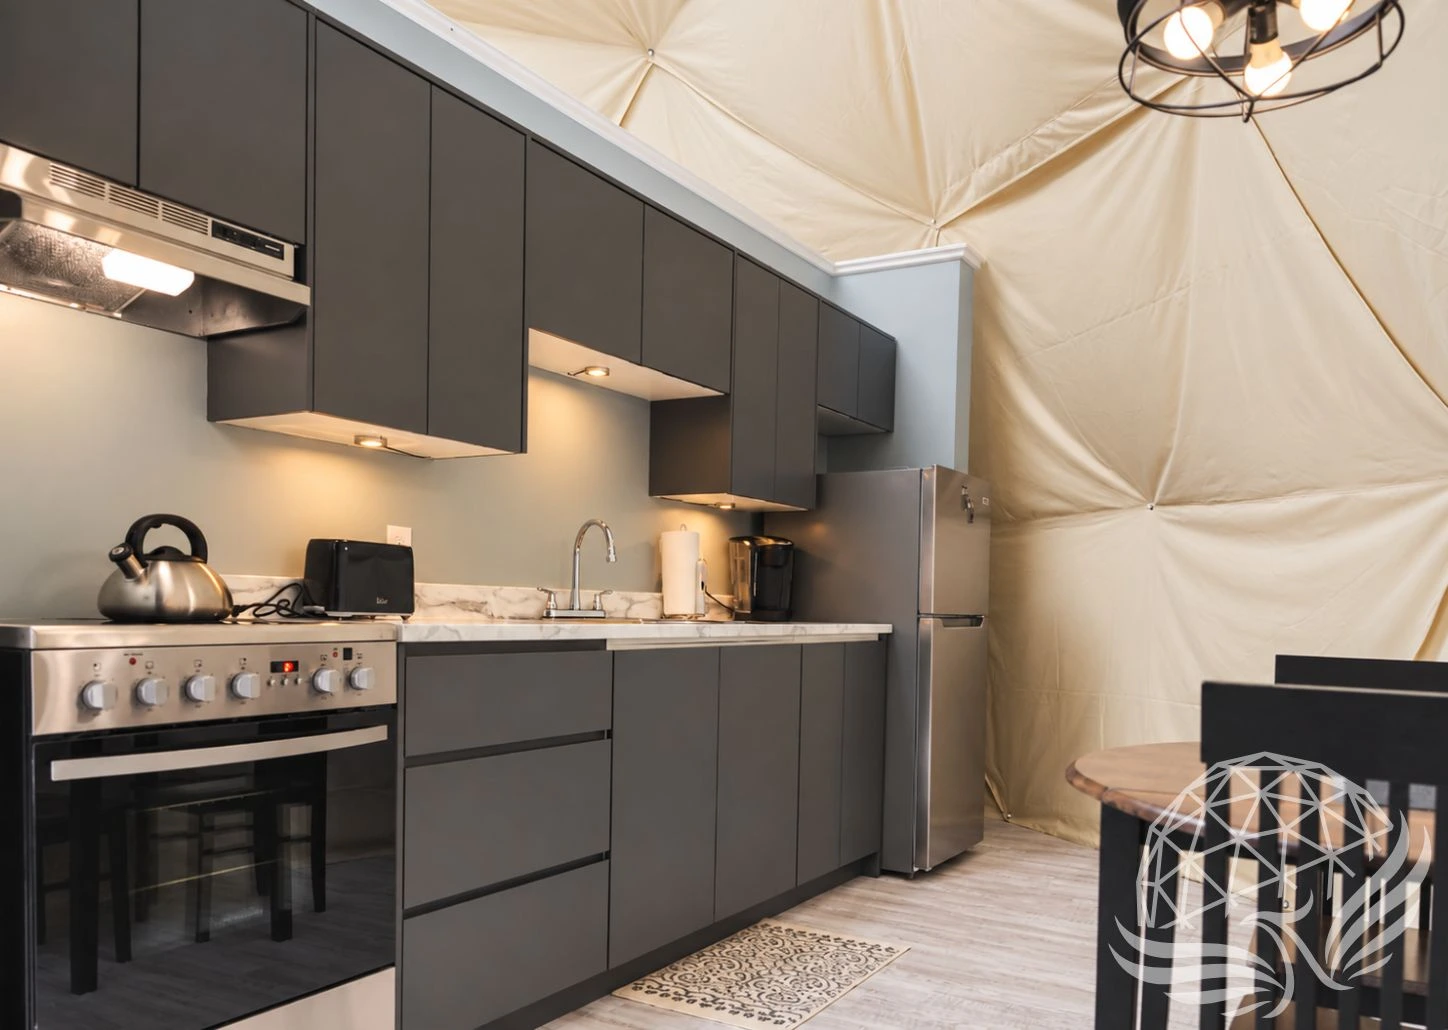
Kitchens Can Follow the Curve
A kitchen doesn't necessarily need a perfectly straight exterior wall.
Lower cabinets can be arranged along the curved perimeter of the dome, leaving small wedge-shaped spaces between the backs of rectangular cabinets and the dome wall.
Those gaps can be concealed beneath a custom countertop, creating a clean finished appearance from inside the room.
This approach can make efficient use of the perimeter while keeping the centre of the dome open.
Where a straight partition or T-wall is available, standard cabinets can be installed conventionally against it. Many layouts may benefit from combining the two approaches: straight cabinetry along the service wall and additional counters or lower cabinets following the dome perimeter.
Upper cabinets require more planning because of the sloping shell. In many cases, open shelves are easier to incorporate than conventional wall-mounted upper cabinets and can make the kitchen feel lighter and more open.
Other options include:
- Freestanding shelving
- Hanging pot racks
- Open pantry units against interior walls
- Kitchen islands
- Tall cabinets positioned on straight partitions
- Custom shelving fitted between structural elements
The best solution will depend on how elaborate the kitchen needs to be.
A short-term rental may only need a small kitchenette, while a full-time residence may need significantly more storage, work surface, and appliance space.
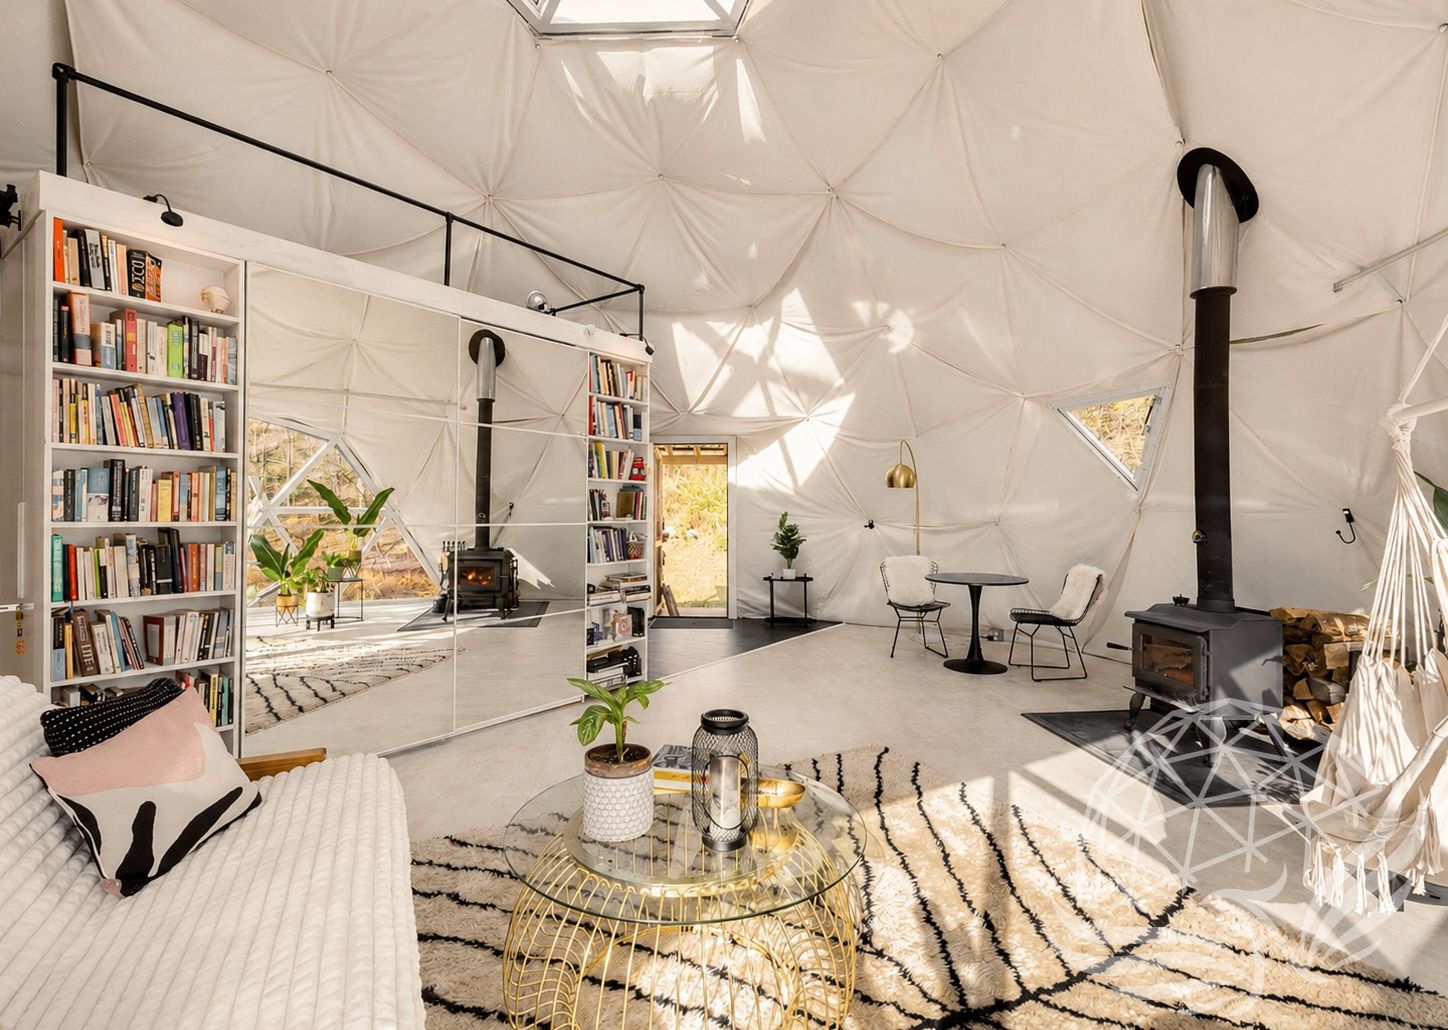
Create Zones Without Closing Everything In
A dome does not need full-height walls everywhere in order to feel organized.
Different zones can be created using:
- Furniture placement
- Rugs
- Curtains
- Open shelving
- Screens
- Lighting
- Partial-height partitions
- Changes in flooring
- Plants
- Ceiling-hung dividers
A glamping dome, for example, might have sleeping, sitting, and dining areas that remain visually connected.
A studio dome might use open shelving to separate storage from the main workspace.
A larger residential dome could enclose the bathroom completely while using partial walls, furniture, or curtains to create softer divisions elsewhere.
These techniques preserve one of the dome's greatest qualities: the ability to see and experience the volume of the entire structure.
Borrow Ideas From Yurt Floor Plans
If you're having trouble imagining a dome floor plan, yurt layouts are an excellent source of inspiration.
Yurts and domes share a broadly circular footprint, and there are many established yurt floor plans showing remarkably efficient ways of fitting kitchens, bathrooms, bedrooms, stairs, storage, and living spaces into a round structure.
They won't translate exactly. A yurt typically has vertical perimeter walls, while a geodesic dome slopes inward.
However, the underlying space-planning ideas are often very useful.
A yurt layout might provide the starting point for:
- A central open living space
- A bathroom and kitchen grouped around one service core
- Bedrooms positioned behind a central partition
- A kitchen arranged around one side of the structure
- A loft over the bathroom or service area
- Perimeter seating and storage
- A freestanding central kitchen island
From there, the floor plan can be adapted to the actual geometry of the dome.
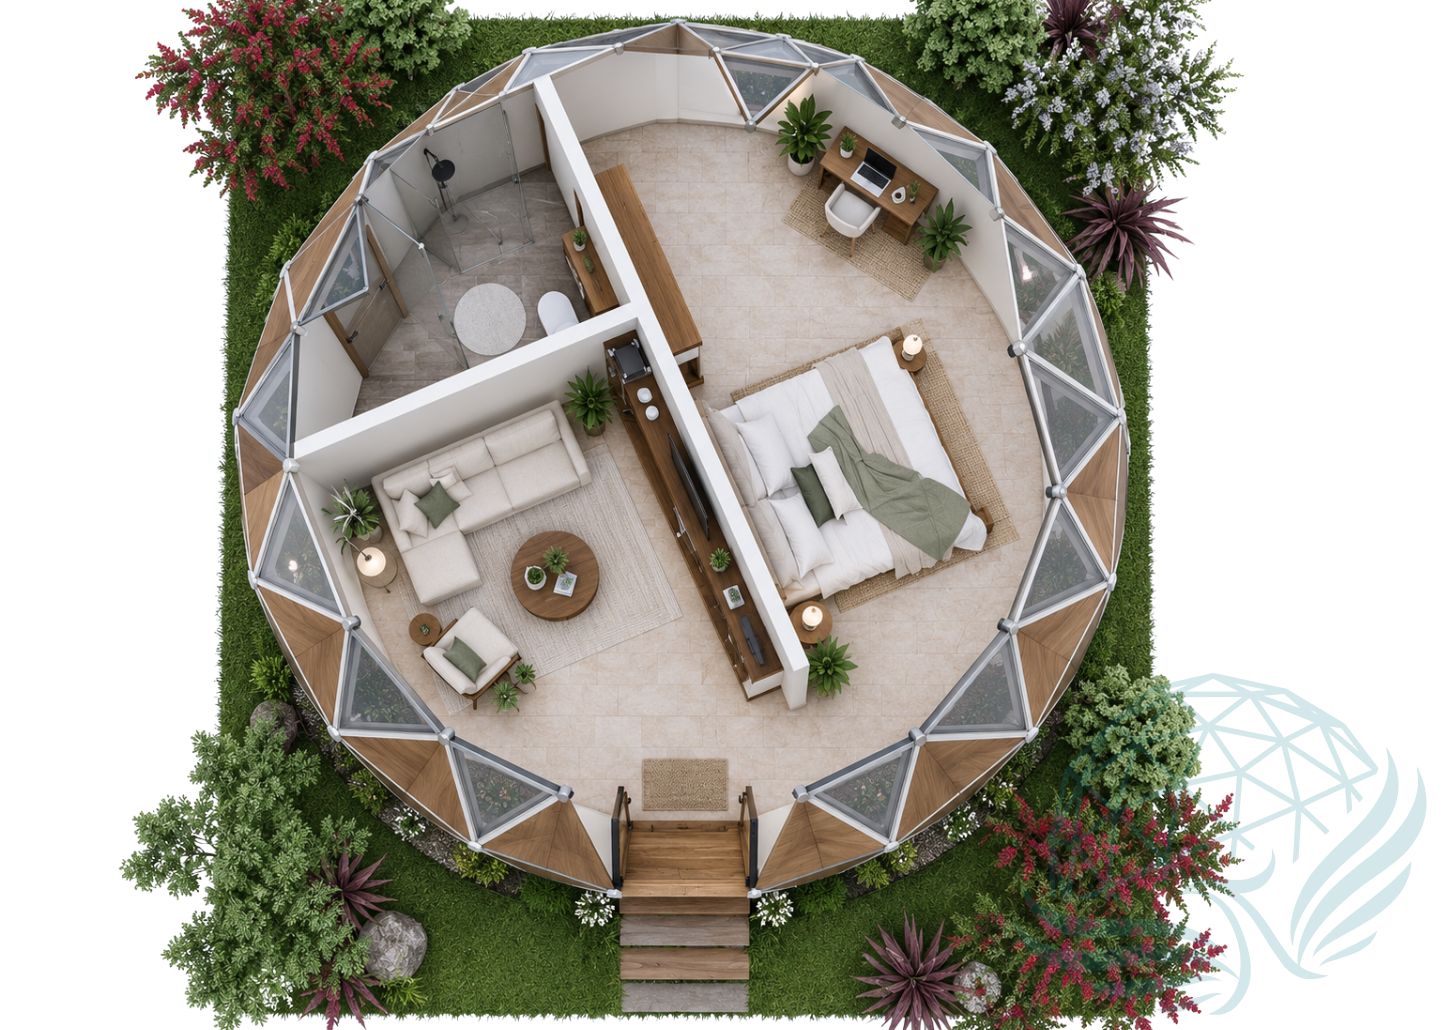
For preliminary planning, it can even be useful to draw the dome footprint as a multi-sided polygon rather than a perfect circle. Depending on the dome model, this more closely reflects the actual base geometry and makes it easier to see where furniture and partitions will meet the perimeter.
For example, Phoenix Domes layouts up to approximately 8 m can be planned using a 15-sided footprint, while 9 m and 10 m layouts can be represented with a 20-sided footprint. This allows familiar round-building floor-plan concepts to be adapted more accurately to the dome.
Think in Floor-Plan Zones, Not Conventional Rooms
Instead of starting with the question, "How many rooms can we fit?", it is often more useful to ask:
What activities need to happen here?
You may need a place to:
- Sleep
- Cook
- Eat
- Bathe
- Work
- Relax
- Store belongings
- Enter and remove outdoor gear
- Enjoy the view
Those functions do not necessarily require eight separate rooms.
For example, a dining table can double as a workspace. A storage wall can divide a bedroom from a living area. A kitchen island can define the kitchen without enclosing it. A window bench can provide seating, storage, and a place to enjoy the view at the same time.
This type of multi-purpose planning is particularly effective in smaller domes.
Consider a Loft in Larger Domes
This creates a natural lower “service core” while keeping the main living area open to the top of the dome.
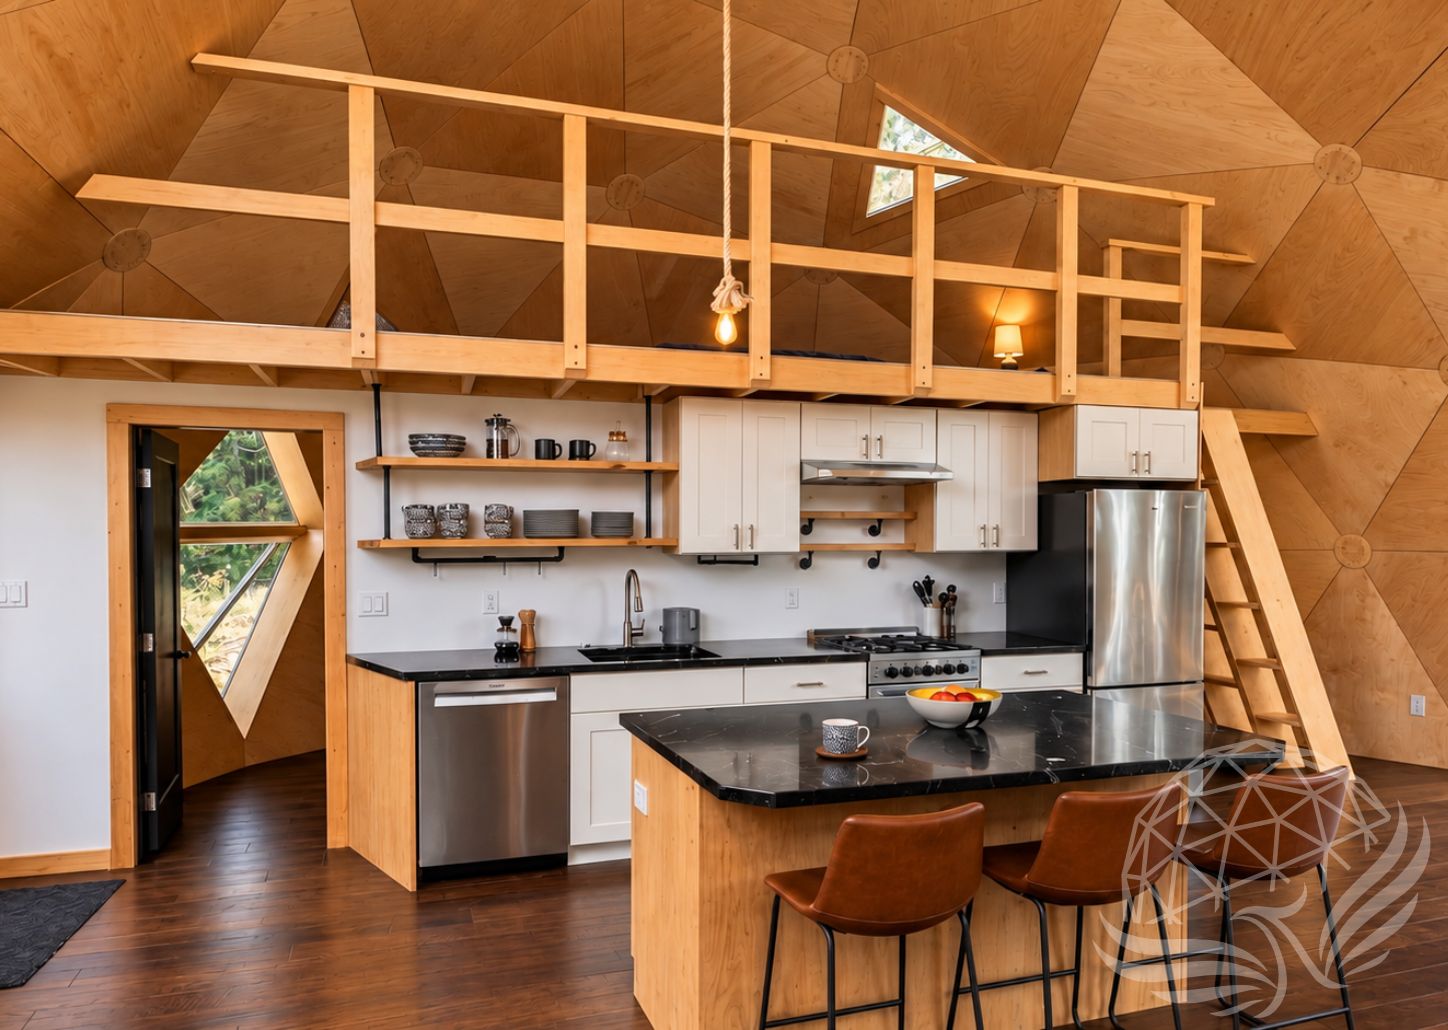
The overhang can work especially well above furniture or functions where full ceiling height is less important. A couch, bed, kitchen cabinets, countertop, or similar area can sit partially beneath the loft while the main circulation and living area immediately in front remains open to the full height of the dome.
This is also where a well-positioned T-wall becomes especially useful. A wall used to separate a bathroom or create a service core can potentially be designed to support the front portion of the loft, allowing the loft, bathroom, utilities, and interior zoning to work together as one integrated design rather than as separate elements.
The result can be a larger and more functional upper level without making the lower floor feel unnecessarily closed in.
A loft should be planned carefully around structural, stair, guard, headroom, egress, and building-code requirements, particularly for residential projects. Overhanging or cantilevered sections also need to be incorporated into the structural design and appropriately supported.
But from a space-planning perspective, a loft can be one of the most effective ways to make use of the dome's vertical volume.
Plan Bathrooms Carefully
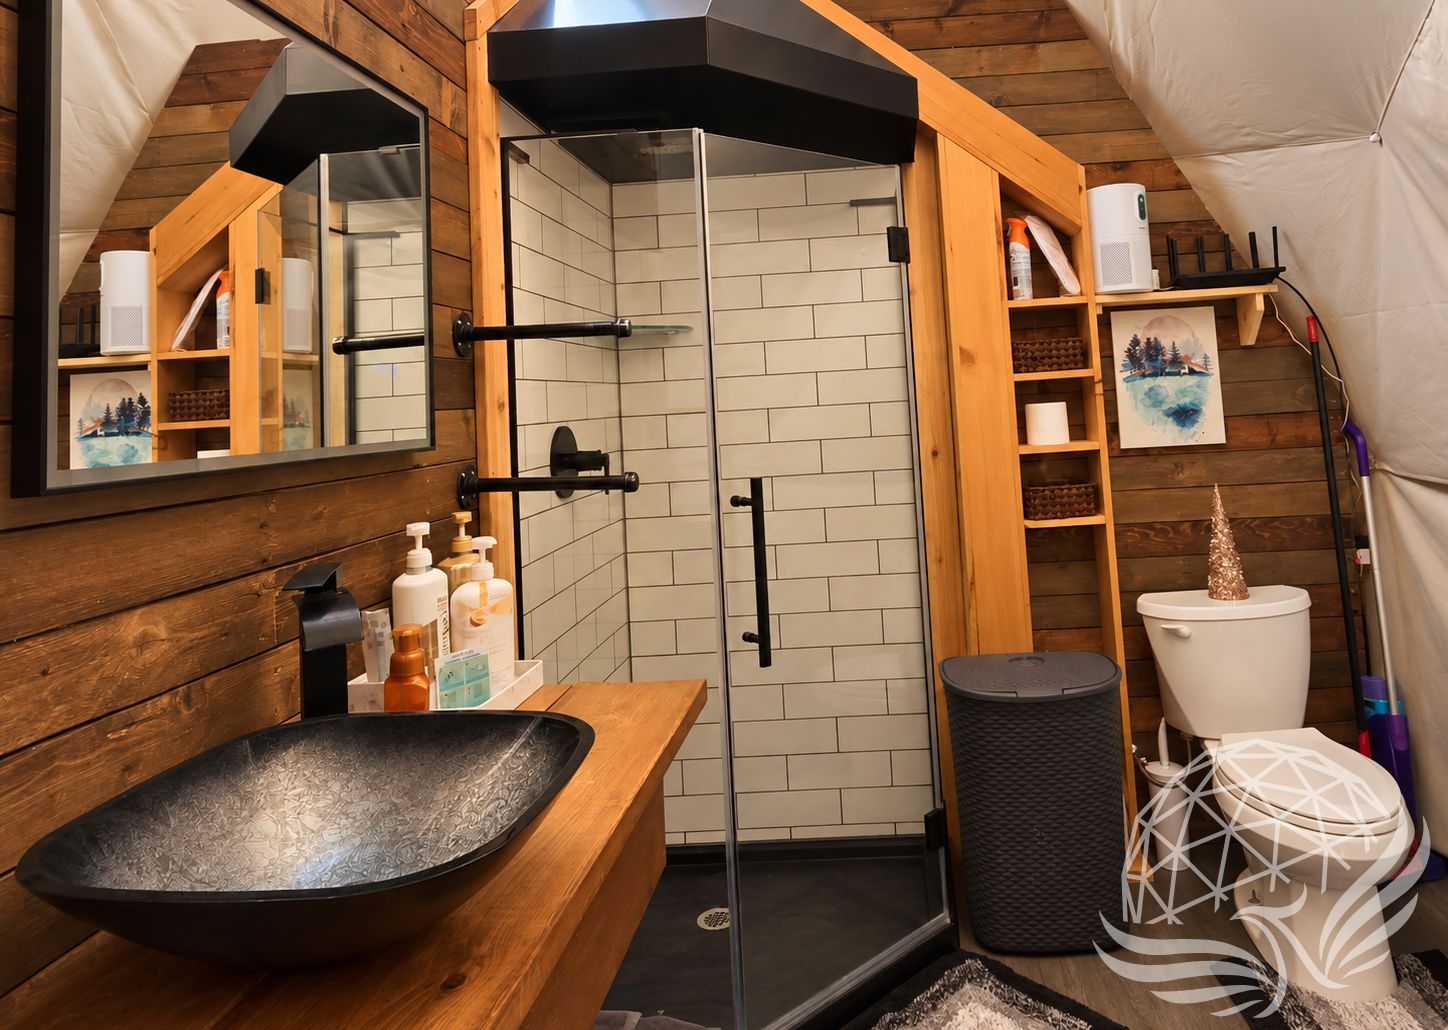
Bathrooms are usually the area where conventional construction makes the most sense.
They require privacy, plumbing, ventilation, waterproof surfaces, and places to mount fixtures, so enclosing the bathroom with straight interior walls is often practical.
Positioning the bathroom beside the kitchen can also simplify plumbing by concentrating water and drainage lines in one part of the building.
In an 8 m, 9 m, or 10 m dome, a compact bathroom can often be incorporated without dominating the floor plan, depending on its intended use and local building requirements.
In smaller domes, the bathroom can consume a significant proportion of the available floor area, so it is worth deciding early whether an internal bathroom is essential or whether another arrangement makes more sense for the project.
Start With a Floor Plan Before Choosing Furniture
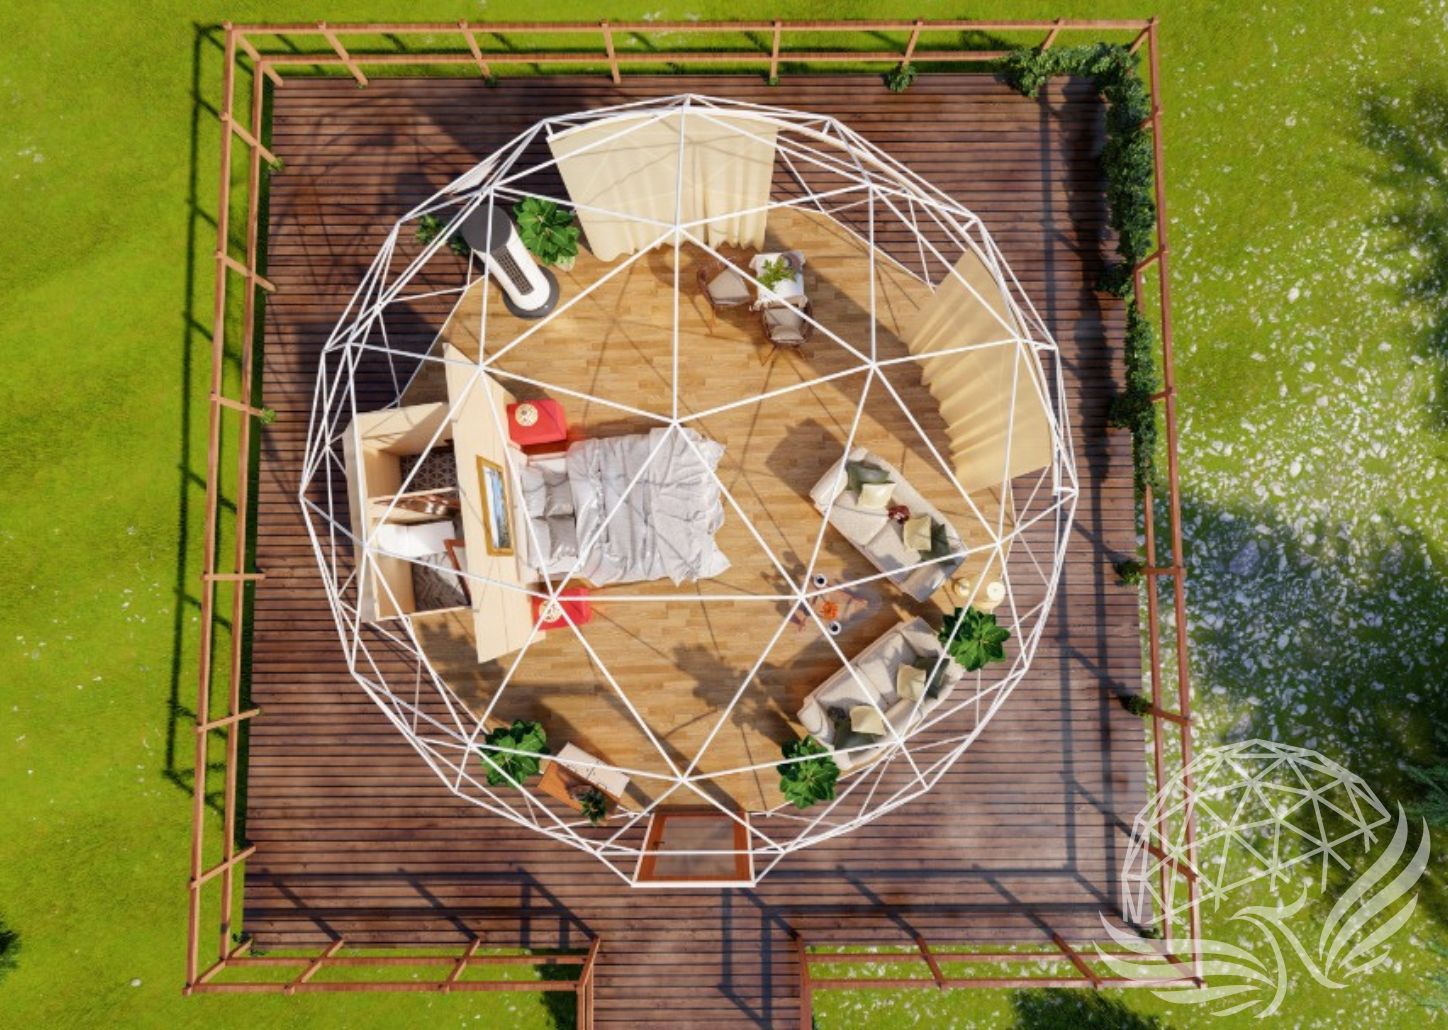
Before purchasing furniture or finalizing plumbing locations, create a scaled floor plan.
Mark:
- The dome perimeter
- Door location
- Panorama windows or other glazing
- Bathroom walls
- Kitchen or service walls
- Stairs and lofts
- Major furniture
- Circulation paths
- Heating equipment
- Storage
Match the Layout to the Dome Size
Each dome size has its own natural strengths.
5 m–6 m domes are generally best with a simple, focused layout. Think guest room, studio, office, treatment room, meditation space, lounge, or greenhouse.
7 m–8 m domes provide considerably more flexibility. Depending on the intended use, they can accommodate a generous bedroom or guest suite, seating area, kitchenette, bathroom, storage, or small service core.
9 m–10 m domes allow much more separation between activities. Kitchens, bathrooms, bedrooms or sleeping areas, dining spaces, living areas, storage, and potentially lofts can all become part of the design.
Larger domes can support group accommodation, classrooms, event spaces, retreat centres, hospitality venues, studios, communal buildings, or more developed residential layouts.
But bigger does not necessarily mean that every square metre should be filled.
Leaving some of the dome open is often what makes the finished space feel extraordinary.
Then experiment.
A bed or kitchen that appears perfectly positioned on paper may feel very different once circulation around it is considered.
This is also where adapting existing round-building or yurt floor plans to the actual polygonal footprint of the dome can be especially useful. It provides a realistic starting point rather than trying to imagine the entire room from an empty circle.
Final Thoughts
Designing inside a dome is an opportunity to think differently.
Instead of automatically dividing the floor area into rectangular rooms, you can work with flow, light, height, curves, views, and openness.
Straight interior walls can be introduced where they are useful. Cabinets can follow the perimeter. Window areas can become curved seating zones. Service spaces can support lofts. Furniture can create divisions without walls.
The most successful interiors usually combine conventional building elements where practicality calls for them with more creative solutions where the dome's geometry offers an opportunity.
Whether your dome is small and simple or large and multi-functional, the best layouts don't fight the shape of the structure.
They use the curve.
