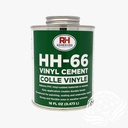
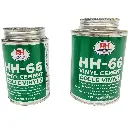
Skip to Content
  •  Designed in Canada Worldwide Delivery
  • Contact Us
  • Pricing and Quote Builder
Phoenix Domes
  • 0
    My Cart
  • English (US) Français (CA)
  • Sign in
  • About
    • Our Story
    • Phoenix Domes Team
    • Our Innovations
    • Our Community
    • Customer Map
    • Why Phoenix Domes
  • Domes

    Our Domes


    4-Season Glamping Packages 
    Glass Domes 
    Hard Panel Domes 
    Residential Domes 
    Yoga/Studio Domes 
    Short-term Rental Domes 
    Custom Domes 
    Zomes 
    Unique Structures 
    Greenhouse Domes 
    Specials 
    Restaurant/Patio Domes 
    Event Domes

    Dome Upgrades


    Glass Panorama Window Upgrade Glass Skylight Upgrade 
    Interior Wood Panelling 
    Aluminum Roof Panel Upgrade Insulation Upgrade
    Opening Triangle Glass Window

    Domes By Size


    16ft / 5 metres / 210 sqft
    20ft / 6 metres / 290 sqft
    23ft / 7 metres / 400 sqft
    26ft / 8 metres / 520 sqft
    30ft / 9 metres / 690 sqft
    33ft / 10 metres / 845 sqft

    Extras


    Photo Galleries
    360° Experience
    3D Walkthroughs
    Success Stories & Reviews
    Installation & Setup Guides
    Join Our Affiliate Program
    Financing Options
  • Dome Academy
    • Getting Started
    • Education Series
    • Resources & Guides
    • Ordering, Shipping & Delivery FAQ
    • Customer Map
    • Success Stories & Reviews
    • Newsletter Archive
  • Book a Call
  • Customer Map
  • Shop
  • Financing Options
  • Dome Life
Phoenix Domes
  • 0
    • About
      • Our Story
      • Phoenix Domes Team
      • Our Innovations
      • Our Community
      • Customer Map
      • Why Phoenix Domes
    • Domes
    • Dome Academy
      • Getting Started
      • Education Series
      • Resources & Guides
      • Ordering, Shipping & Delivery FAQ
      • Customer Map
      • Success Stories & Reviews
      • Newsletter Archive
    • Book a Call
    • Customer Map
    • Shop
    • Financing Options
    • Dome Life
  •  Designed in Canada Worldwide Delivery
  • English (US) Français (CA)
  • Sign in
  • Contact Us
  • Pricing and Quote Builder
  1. All products
  2. Parts and Repairs
  3. HH-66 Vinyl Cement Glue
  4. Parts and Repairs
Pricelist: USD Pricelist
USD
Pricelist: USD Pricelist
USD
  1. HH-66 Vinyl Cement Glue
  2. HH-66-2-Phoenix-Domes.webp
  3. HH-66-3-Phoenix-Domes.webp
HH-66 Vinyl Cement Glue
HH-66-2-Phoenix-Domes.webp
HH-66-3-Phoenix-Domes.webp

HH-66 Vinyl Cement Glue

When it comes to adhering vinyl to vinyl, our HH-66 vinyl cement glue is as good as it gets! 

It is best used when applying patches to Dome covers or similar vinyl/vinyl scenarios. It offers a permanent bond between the two surfaces, when properly applied. 
$ 30.00 $ 30.00

  • Glue Size
Add to cart

Description

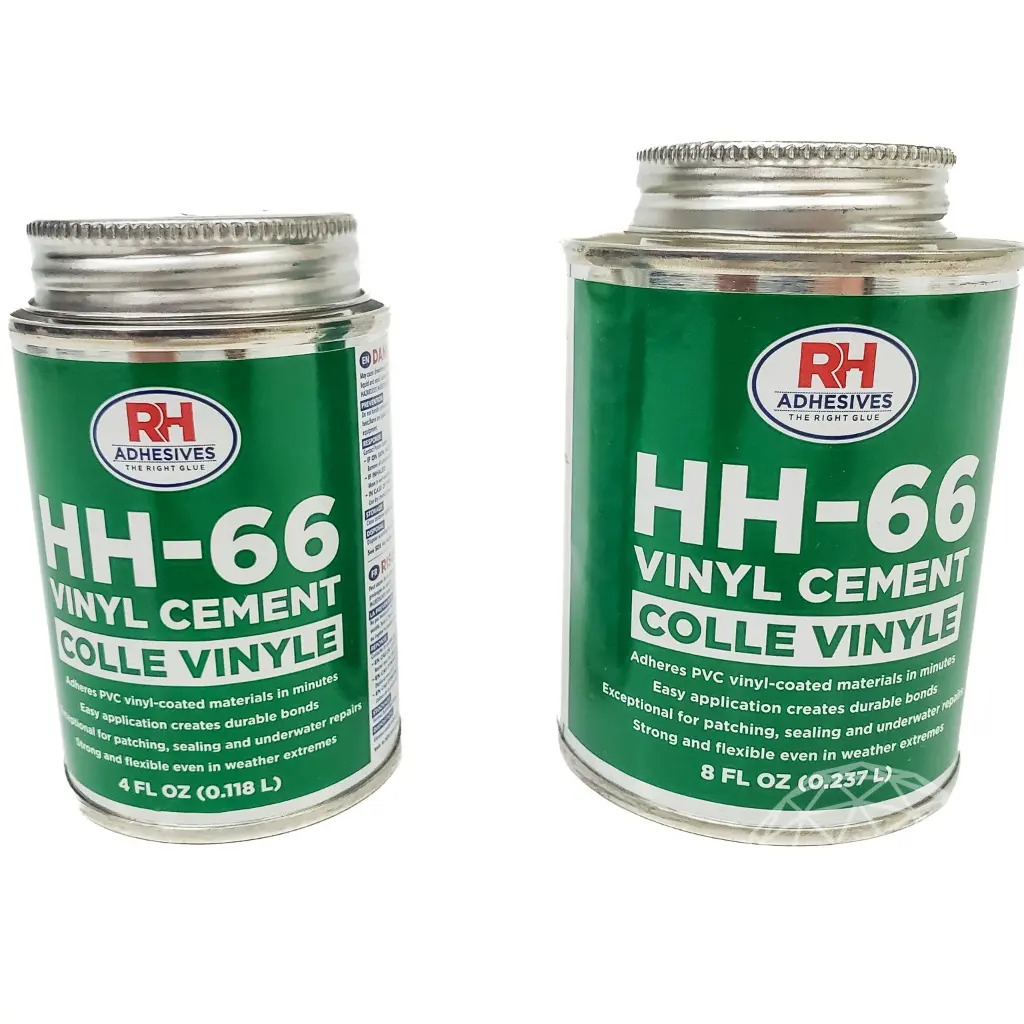
4oz and 8oz cans are available. Each oz of vinyl cement is estimated to be sufficient for coating one square foot of material by the manufacturer. 

For adhering vinyl to wood or other building materials, we recommend using Titebond Weathermaster sealant instead (which is also much easier to work with at low temperatures!)

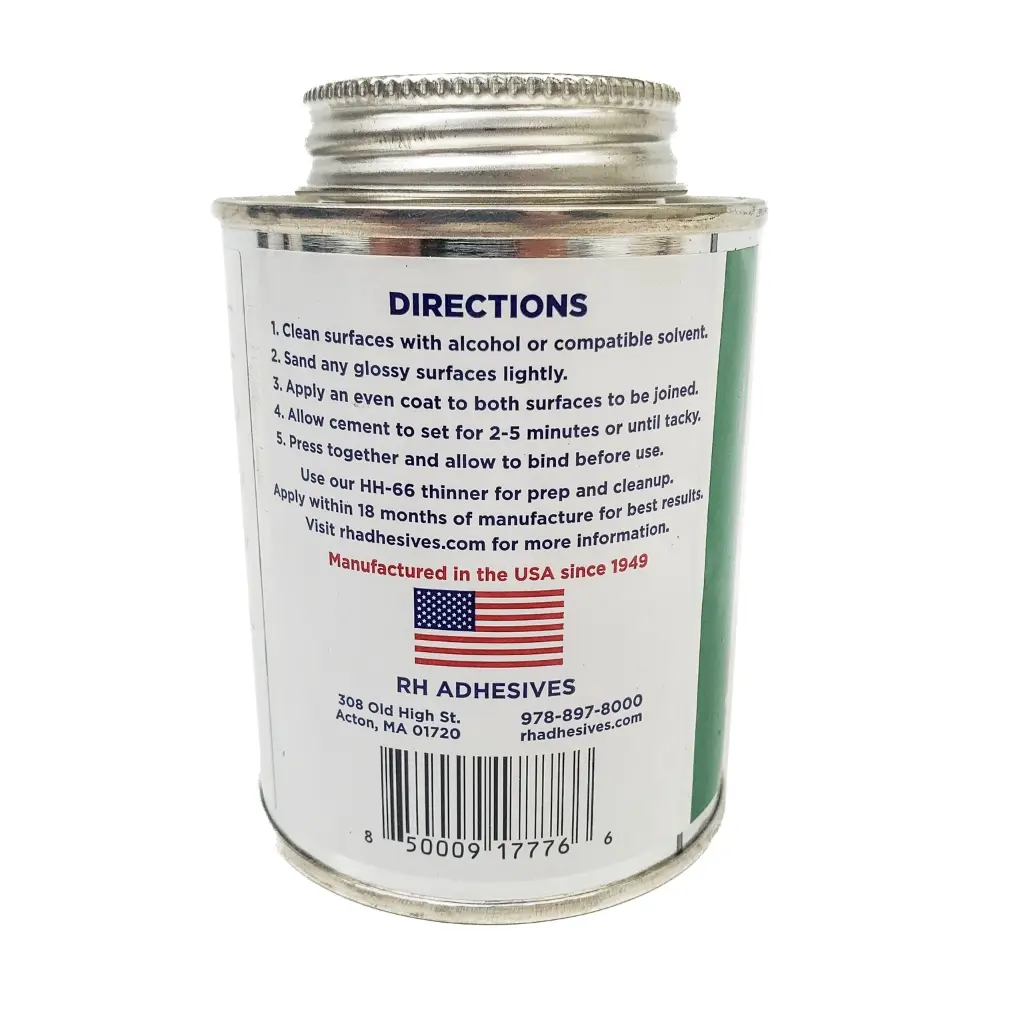
General Application:

Ensure both surfaces to be joined are clean and dry. Sanding surfaces slightly can be a good idea for maximum holding power. Apply quickly, allowing the glue to sit for one minute on each surface before pressing the two together.

These pots of glue include a small brush under the lid that can assist with application, although if the surface area you intend to join is substantial you may wish to consider using a larger brush or foam applicator.

________

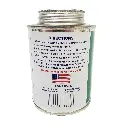
Cold Weather Application:

HH-66 is ideally applied at 15ºC/59ºF and above. If outdoor temperatures are less than this, bring your glue inside inside for a day or so in advance of installation so it can warm up to room temperature.

If cold temperatures are unavoidable, you'll want to keep the glue in your jacket until using it, and then use a hair dryer or heat gun (on low) to warm it during the application and setting phases, where it can ensure easier spreadability during application and improve bonding once surfaces have been joined together. It is recommended to apply vinyl cement to both surfaces intended to be joined, allowing them to sit separately for roughly a minute, and then joining them. Usually ~30s with a heat gun on low will be sufficient to warm a surface up prior to bonding, and an additional 30s-1m is a good idea during the setting phase.

Your Dynamic Snippet will be displayed here... This message is displayed because youy did not provide both a filter and a template to use.


Contact

For Sales & Support
sales@phoenixdomes.com

All Other Inquiries
contact@phoenixdomes.com

ph: +1 (888) 983-7513

   Canadian Owned & Operated

CUSTOMER SERVICE


Financing Options

Book a Call

Shipping & Delivery FAQ

   Secure Payment Processing

EXPLORE


Customer Success Stories & Reviews

Resources & Guides

Dome Life


  • ​
  • ​
  • Terms of Services
  • •​
  • Privacy Policy
  • •​   Website by Cloud9 Marketing
Copyright © Phoenix Domes 2026