
Before Your Dome Arrives:
Site Preparation Tips for a Smooth Installation
A successful dome project begins long before the dome arrives on site. Good site preparation can make installation smoother, protect your investment, and help create a comfortable, durable, and enjoyable space for years to come.
Whether you are preparing for a 5m garden dome, an 8m glamping dome, a 10m guest house, or a larger dome for residential or commercial use, the same basic principles apply: choose the right location, create a solid base, plan for water management, and think through access, utilities, and long-term comfort.
Choose the Best Location on Your Property
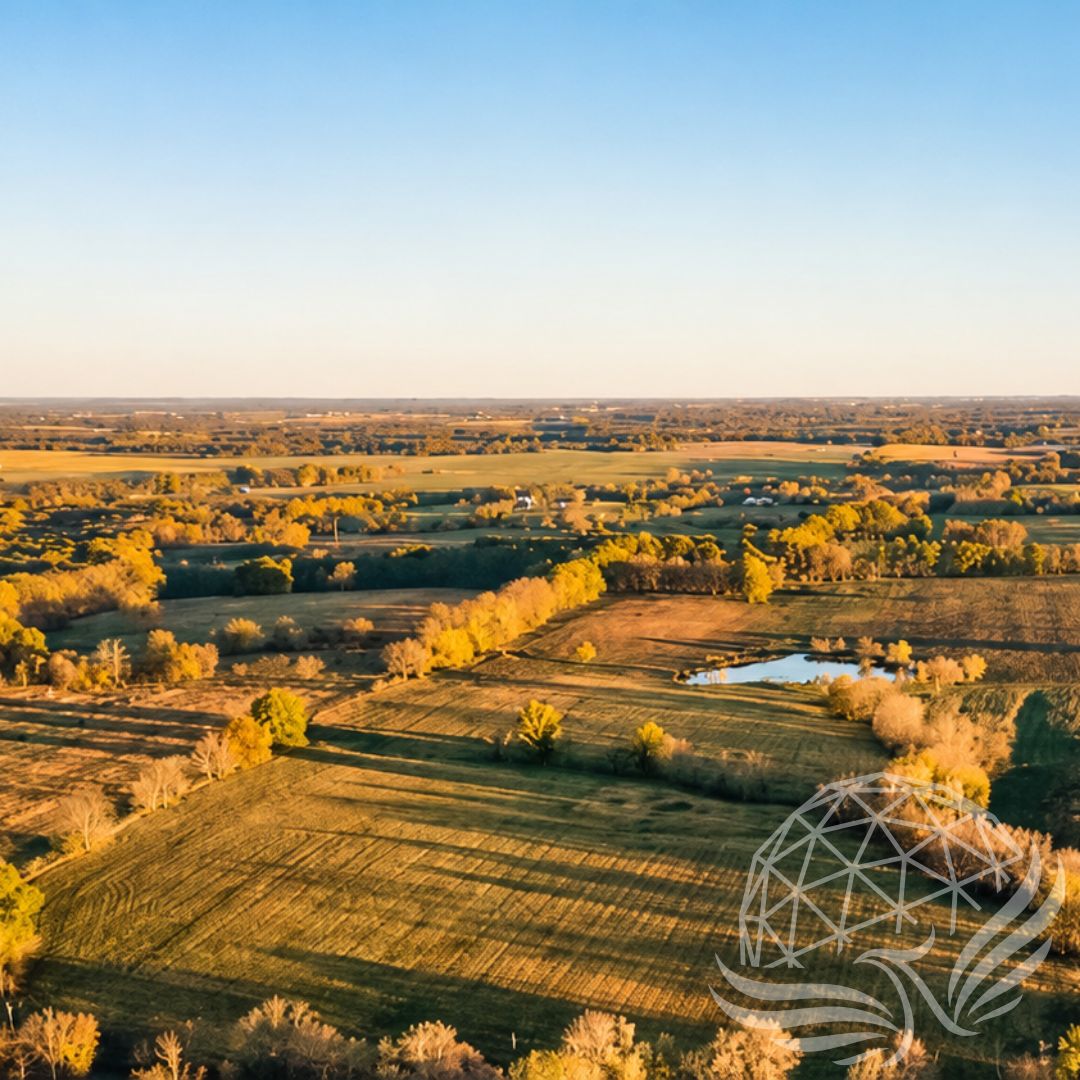
The first step is deciding where the dome should go. The best site is not always the most visually dramatic spot. A beautiful view is valuable, but the site also needs to be practical.
Consider access, drainage, wind exposure, privacy, sunlight, shade, and how the dome will connect to the rest of the property. A dome placed too far from parking, services, or pathways may be less convenient to use, especially in winter or wet weather. A dome placed in a low or poorly drained area may require extra site work before installation.
For glamping or guest use, think about the arrival experience. Guests should be able to find the dome easily, walk to it safely, and enjoy privacy once they arrive. For residential or studio use, think about how often you will move between the dome and other buildings on the property.
Plan for Drainage First
Good drainage is one of the most important parts of site preparation. Water should always move away from the dome, not toward it.
Before building a platform or foundation, observe how water behaves on your property. Where does rain collect? Are there seasonal wet spots? Does the ground slope toward or away from the proposed site? Are there existing ditches, swales, or drainage paths?
A well-prepared site may include grading, gravel, drainage trenches, or other measures to keep water away from the platform and entry points. This is especially important in rainy climates, snowy regions, or areas with clay soils.
Even the best dome structure needs a well-managed site beneath it. A dry, stable base helps protect the platform, improve comfort, and reduce long-term maintenance issues.
Build a Level, Stable Platform
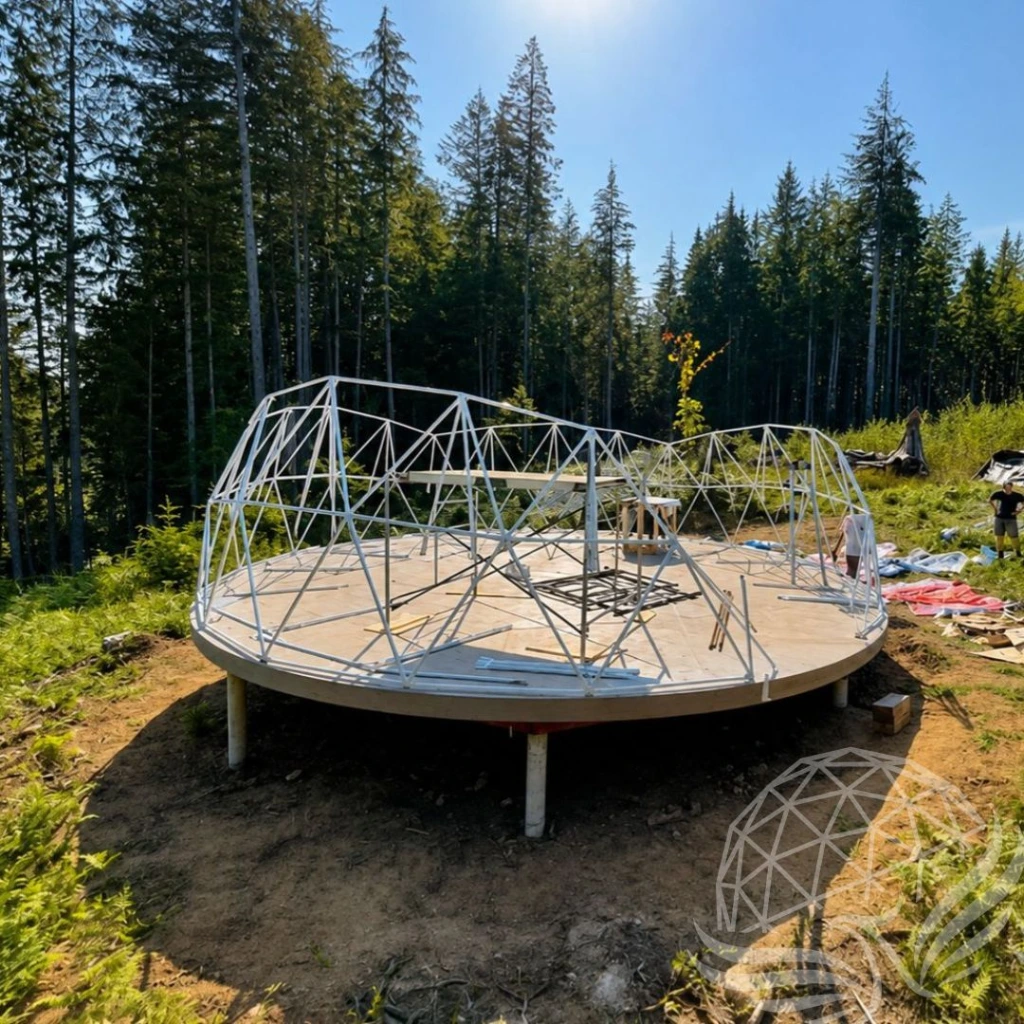
Most dome projects require a platform or foundation designed for the size and use of the structure. The platform needs to be level, strong, and properly matched to the dome footprint.
For smaller domes such as 5 m or 6 m structures, the platform may be simpler, depending on the intended use and local requirements. For larger domes, residential domes, or commercial projects, the platform may require more detailed planning, engineering, or permitting.
A proper platform should account for:
Dome diameter and exact footprint
Local snow and wind conditions
Soil conditions
Anchoring requirements
Entry location
Moisture protection
Insulation, if needed
Interior floor finish
Future utilities
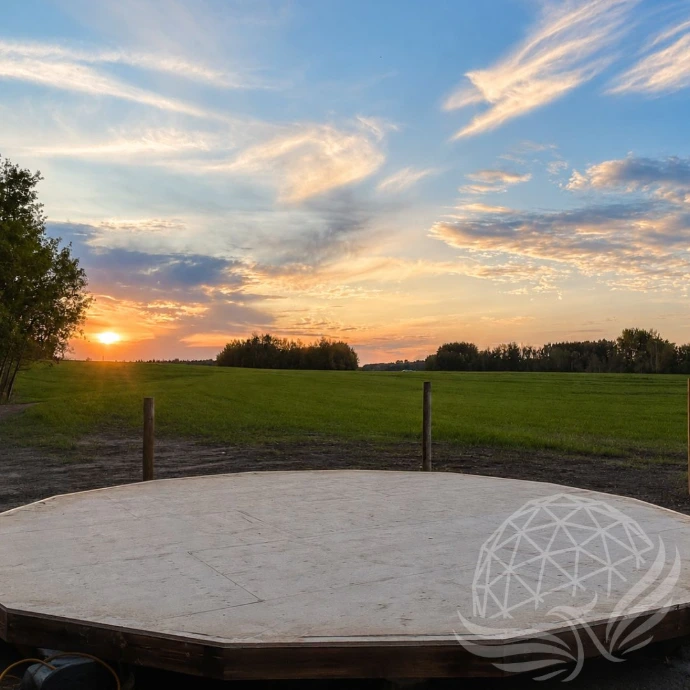
The platform is not just something the dome sits on. It becomes the floor system, the base for anchoring, and a major part of the comfort and durability of the finished space.
Think About Sun, Shade, and Seasonal Comfort
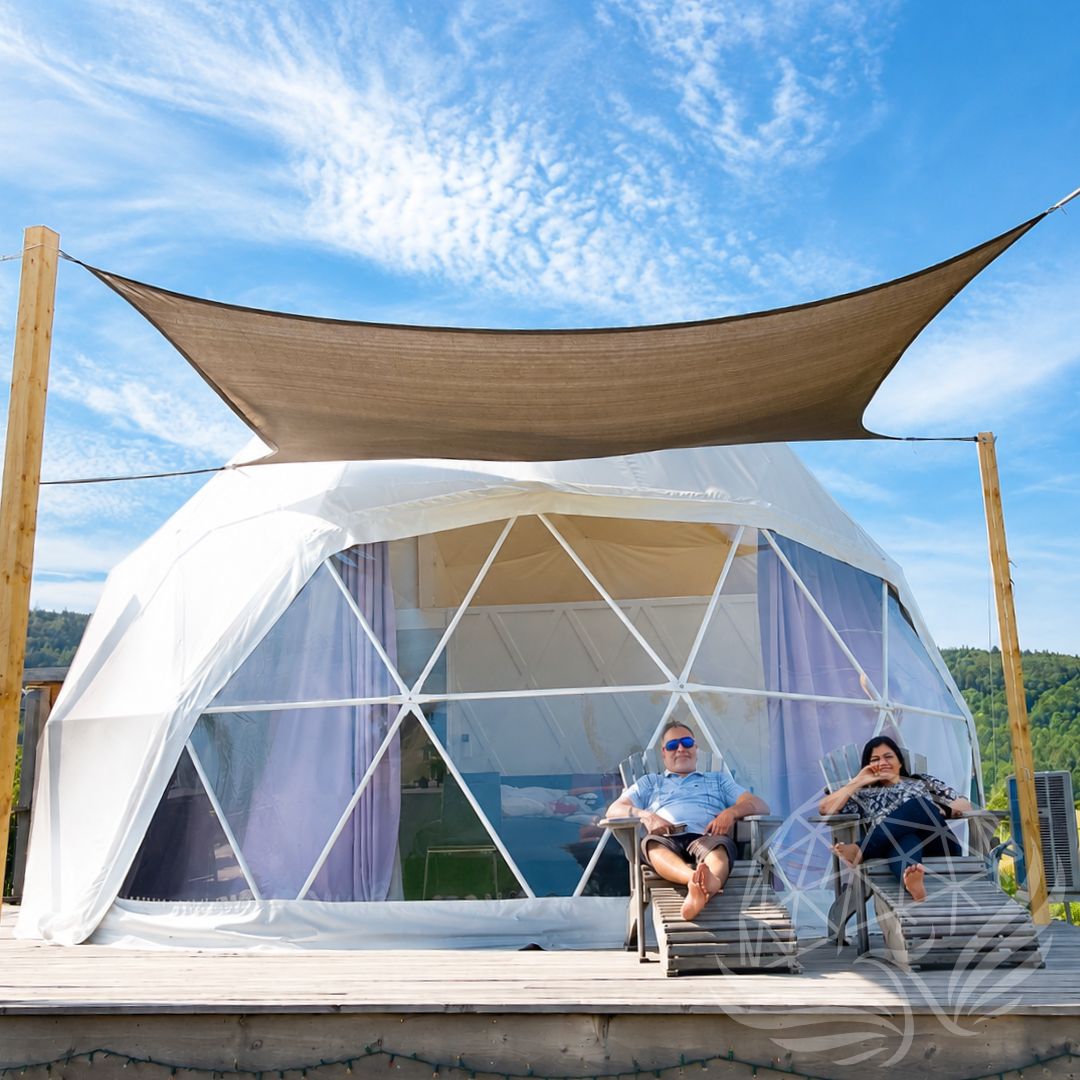
The sun can be an asset or a challenge depending on your climate and use. A dome intended for winter comfort may benefit from good solar exposure. A dome used in hot summer conditions may need shade, ventilation, curtains, reflective insulation, or careful orientation.
Before choosing your exact placement, consider how the sun moves across the site throughout the day and across the seasons. A location that feels perfect in spring may become hot in midsummer or shaded in winter.
Trees can provide privacy and cooling, but they can also drop branches, leaves, sap, or debris. If the dome will be under or near trees, consider maintenance access and the long-term health of the surrounding trees.
Plan Access for Delivery and Installation
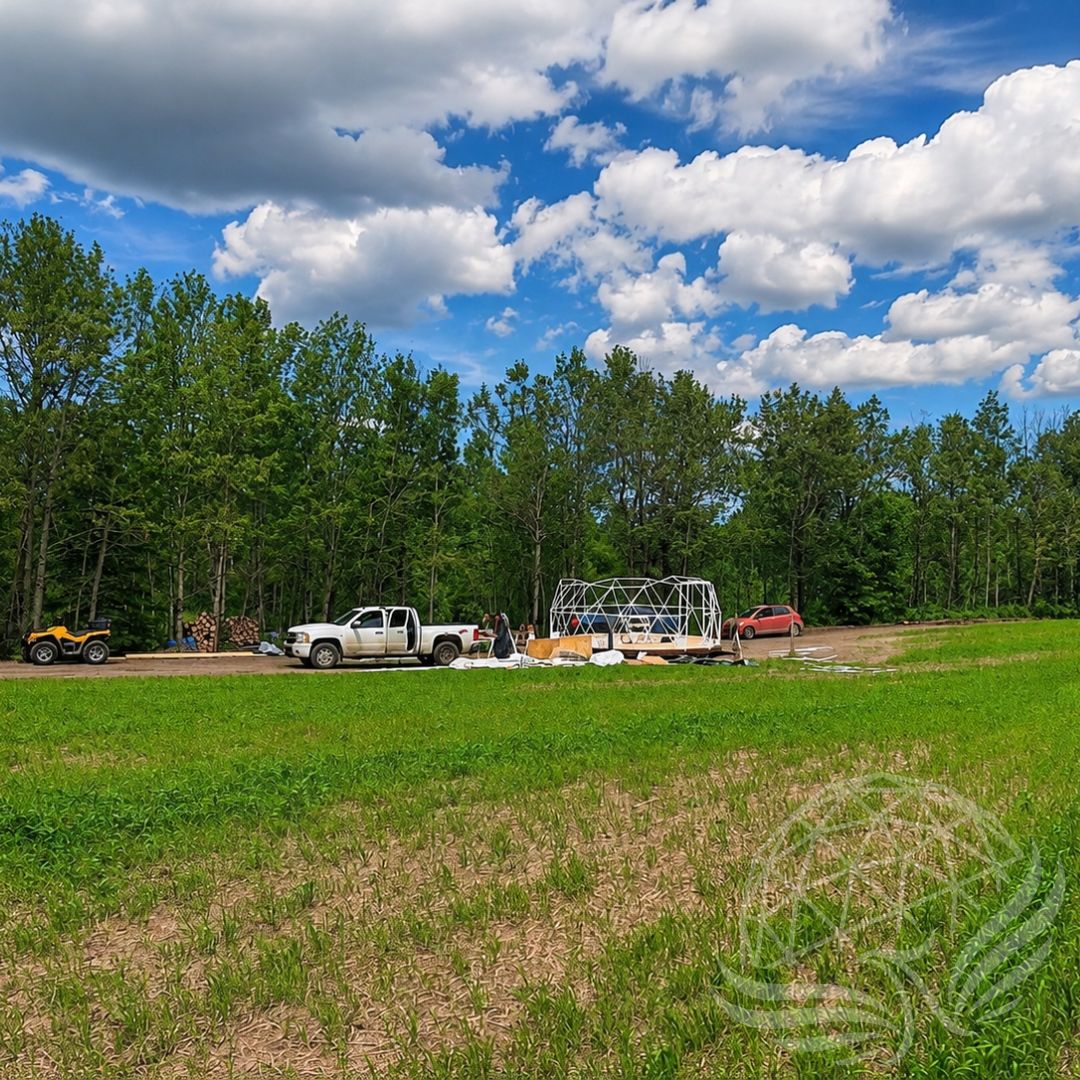
Access is easy to overlook until delivery day. Before your dome arrives, confirm how materials will get from the delivery point to the build site.
Consider driveway width, turning space, gates, slopes, soft ground, overhead branches, power lines, and whether a truck can get close to the site. If the dome will be installed far from the driveway, plan how the components will be moved safely.
For remote or sloped properties, this may require extra labour, equipment, or staging space. Planning ahead can prevent delays and make installation more efficient.
Decide Where Utilities Will Go
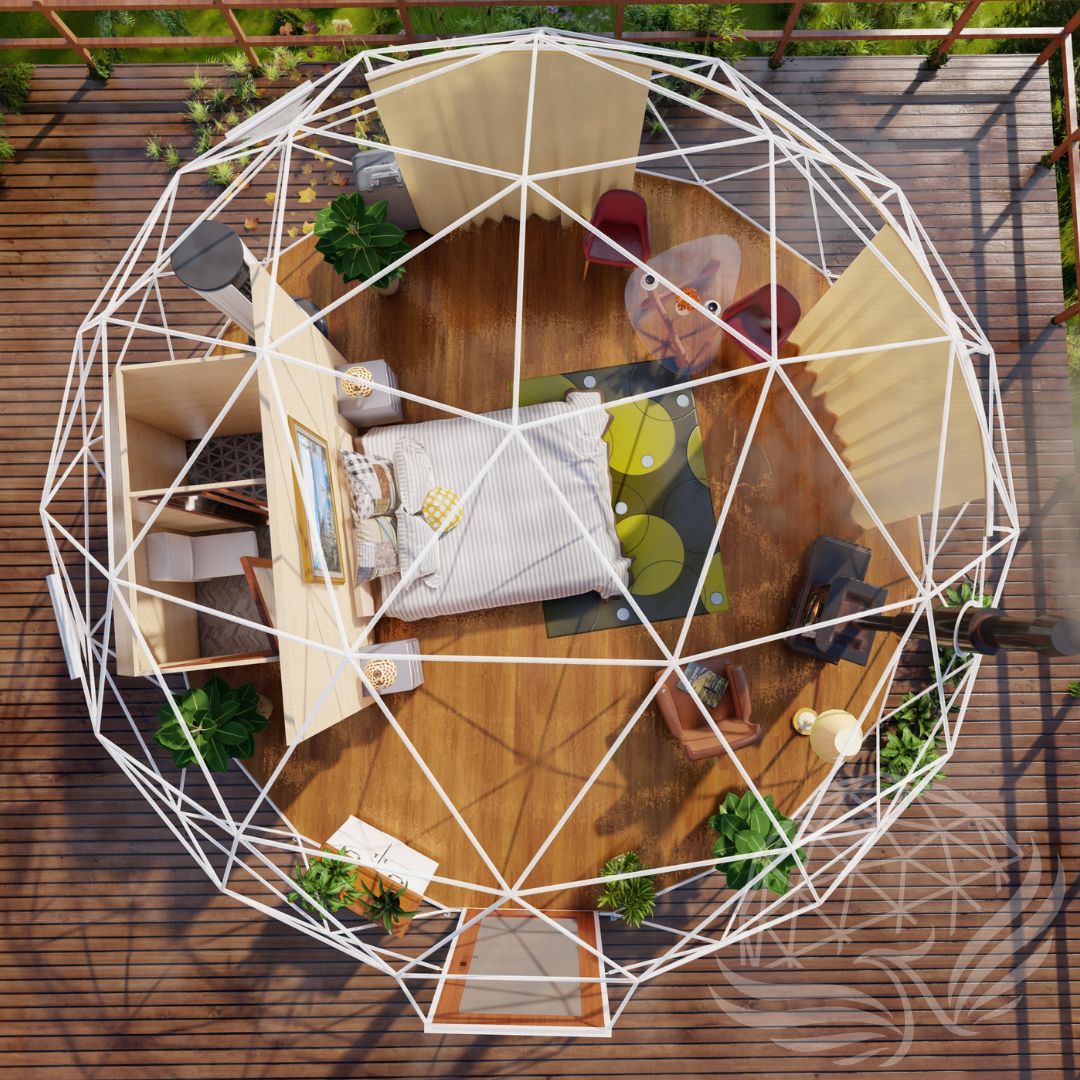
If your dome will include power, water, plumbing, internet, heating, cooling, or a bathroom, it is best to plan these before the platform is built.
Even if you are not installing everything immediately, future-proofing can be valuable. Conduit, sleeves, utility chases, or planned entry points can make later upgrades easier.
For glamping rentals and residential uses, utility planning is especially important. Think about:
Electrical supply
Lighting
Water lines
Drainage or septic connection
Internet or Wi-Fi
Propane or gas appliances, where applicable
Ventilation systems
Exterior lighting and pathways
Bringing services to the dome after everything is finished can be more complicated and expensive than planning for them at the beginning.
Consider Wind, Snow, and Exposure
Geodesic domes are known for their strength and efficient shape, but site exposure still matters. A dome located on an open ridge, coastal bluff, snowy clearing, or high-wind area may require additional planning.
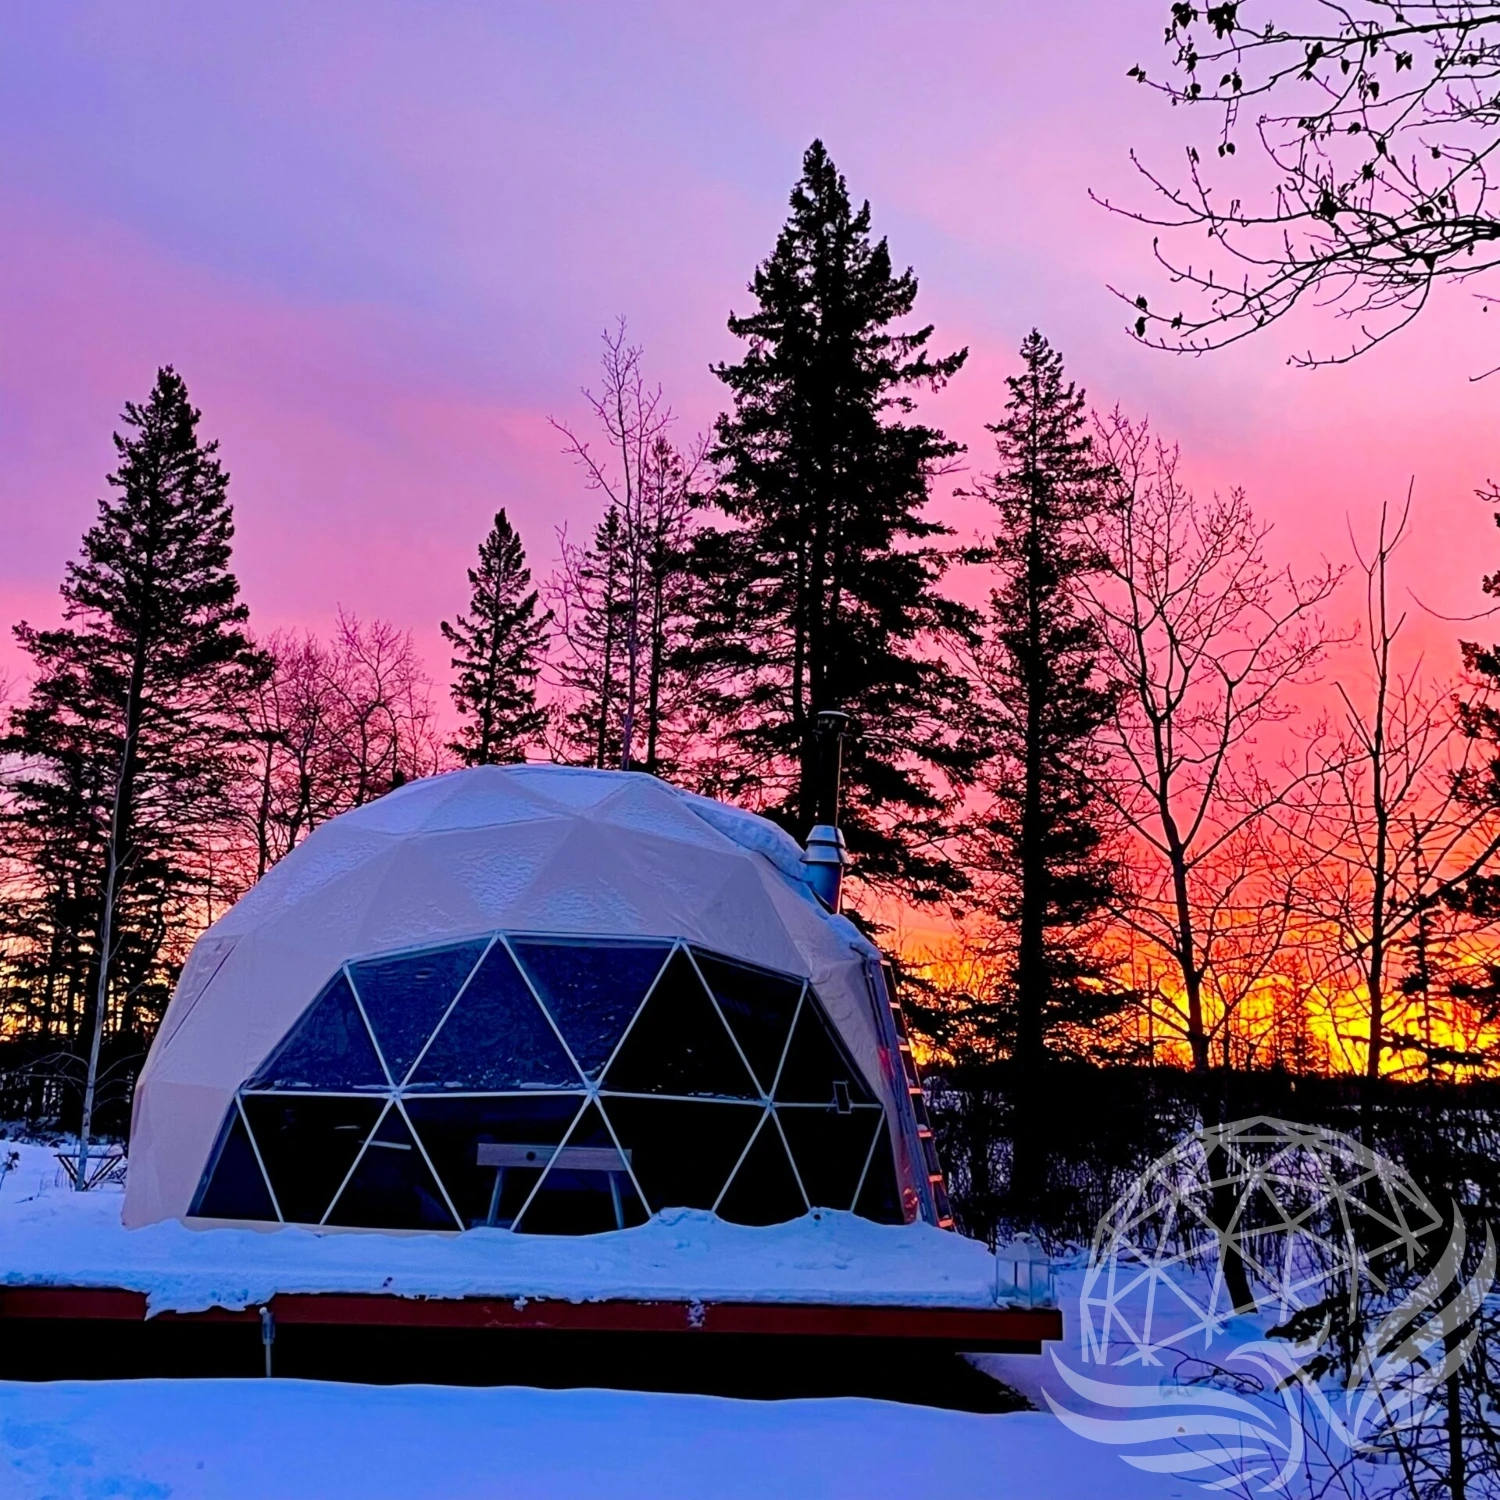
Local climate conditions affect anchoring, heating, snow management, entry placement, and the comfort of outdoor areas around the dome. In snowy regions, consider where snow will accumulate and how people will access the entrance. In windy regions, consider the direction of prevailing winds and how the entrance will be protected.
For residential or commercial projects, always check local building requirements and consult qualified professionals where needed.
Prepare the Area Around the Dome
The area surrounding the dome matters almost as much as the dome itself. A well-designed exterior makes the structure easier and more enjoyable to use.
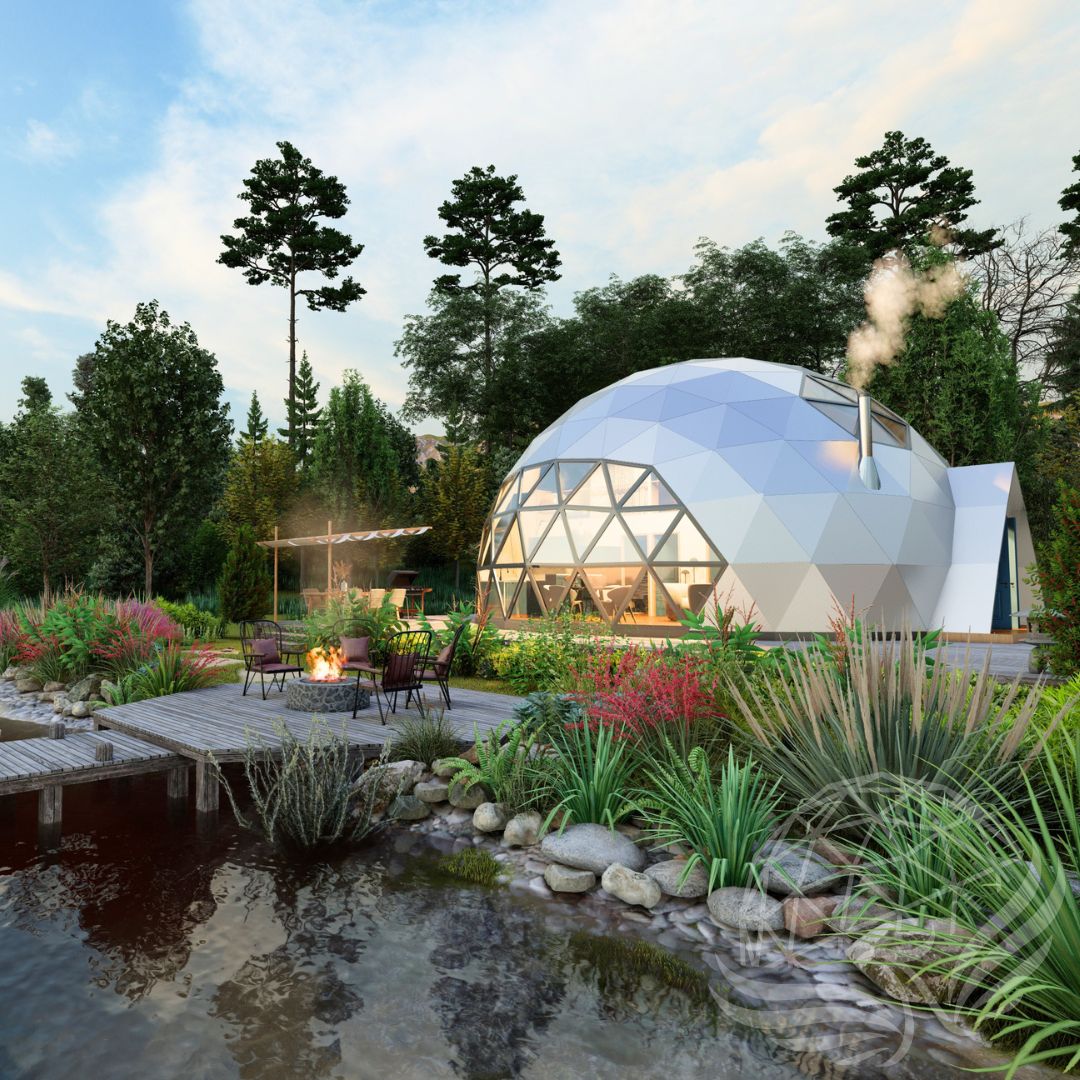
Consider pathways, stairs, decks, railings, outdoor seating, lighting, landscaping, privacy screening, and storage for firewood or outdoor equipment. For rentals, the outdoor experience can be a major part of the guest appeal.
A dome often becomes a focal point on the property. Preparing the surrounding area helps it feel intentional, welcoming, and connected to the landscape.
Final Thoughts
Site preparation is one of the most important steps in a successful dome project. A well-chosen, well-prepared site can make installation smoother, improve comfort, reduce maintenance, and help your dome perform better in every season.
Before your dome arrives, take time to think through location, drainage, platform design, access, utilities, sun exposure, wind, snow, and the surrounding outdoor space.
A Phoenix Dome is designed to be strong, beautiful, and versatile. With the right site preparation, it can become a long-lasting space for rest, creativity, business, growing, hosting, or living.
