Après avoir reçu votre kit de dôme de Phoenix Domes, il est temps de donner vie à votre dôme de rêve. Ce billet de blogue vous guidera à travers le processus d'installation, depuis le tri initial des matériaux jusqu'à l'installation finale.
Téléchargez un guide imprimable pour l'installation de votre forfait Dôme Glamping
Étape 1 : Rassemblez vos documents
Avant de commencer, vous aurez besoin de quatre ensembles de documents. Familiarisez-vous avec ceux-ci à l’avance et envisagez de regarder notre vidéo d’instruction "Assembling Your Phoenix Dome ". Téléchargez ces documents sur un ordinateur portable, une tablette ou imprimez-les pour y accéder facilement le jour de l’installation.
Vous aurez besoin des éléments suivants (téléchargez le document approprié pour votre dôme sur la page des ressources):
- Instructions de montage : un guide de référence étape par étape pour l'installation.
- Diagramme de montage : instructions spécifiques pour l'assemblage de la structure de votre dôme.
- Schéma d'installation de la doublure intérieure Oxford : vous aide à placer correctement les pièces de la doublure intérieure (applicable à tous les forfaits Glamping 4 saisons et à certains dômes personnalisés).
- Instructions d'installation du kit de rideaux : dernière étape avant d’aménager l’intérieur (applicable à tous les forfaits Glamping 4 saisons et à certains dômes personnalisés).
Étape 2 : Rassembler les outils et matériaux
Assurez-vous d’avoir les outils et matériaux suivants prêts avant de commencer:
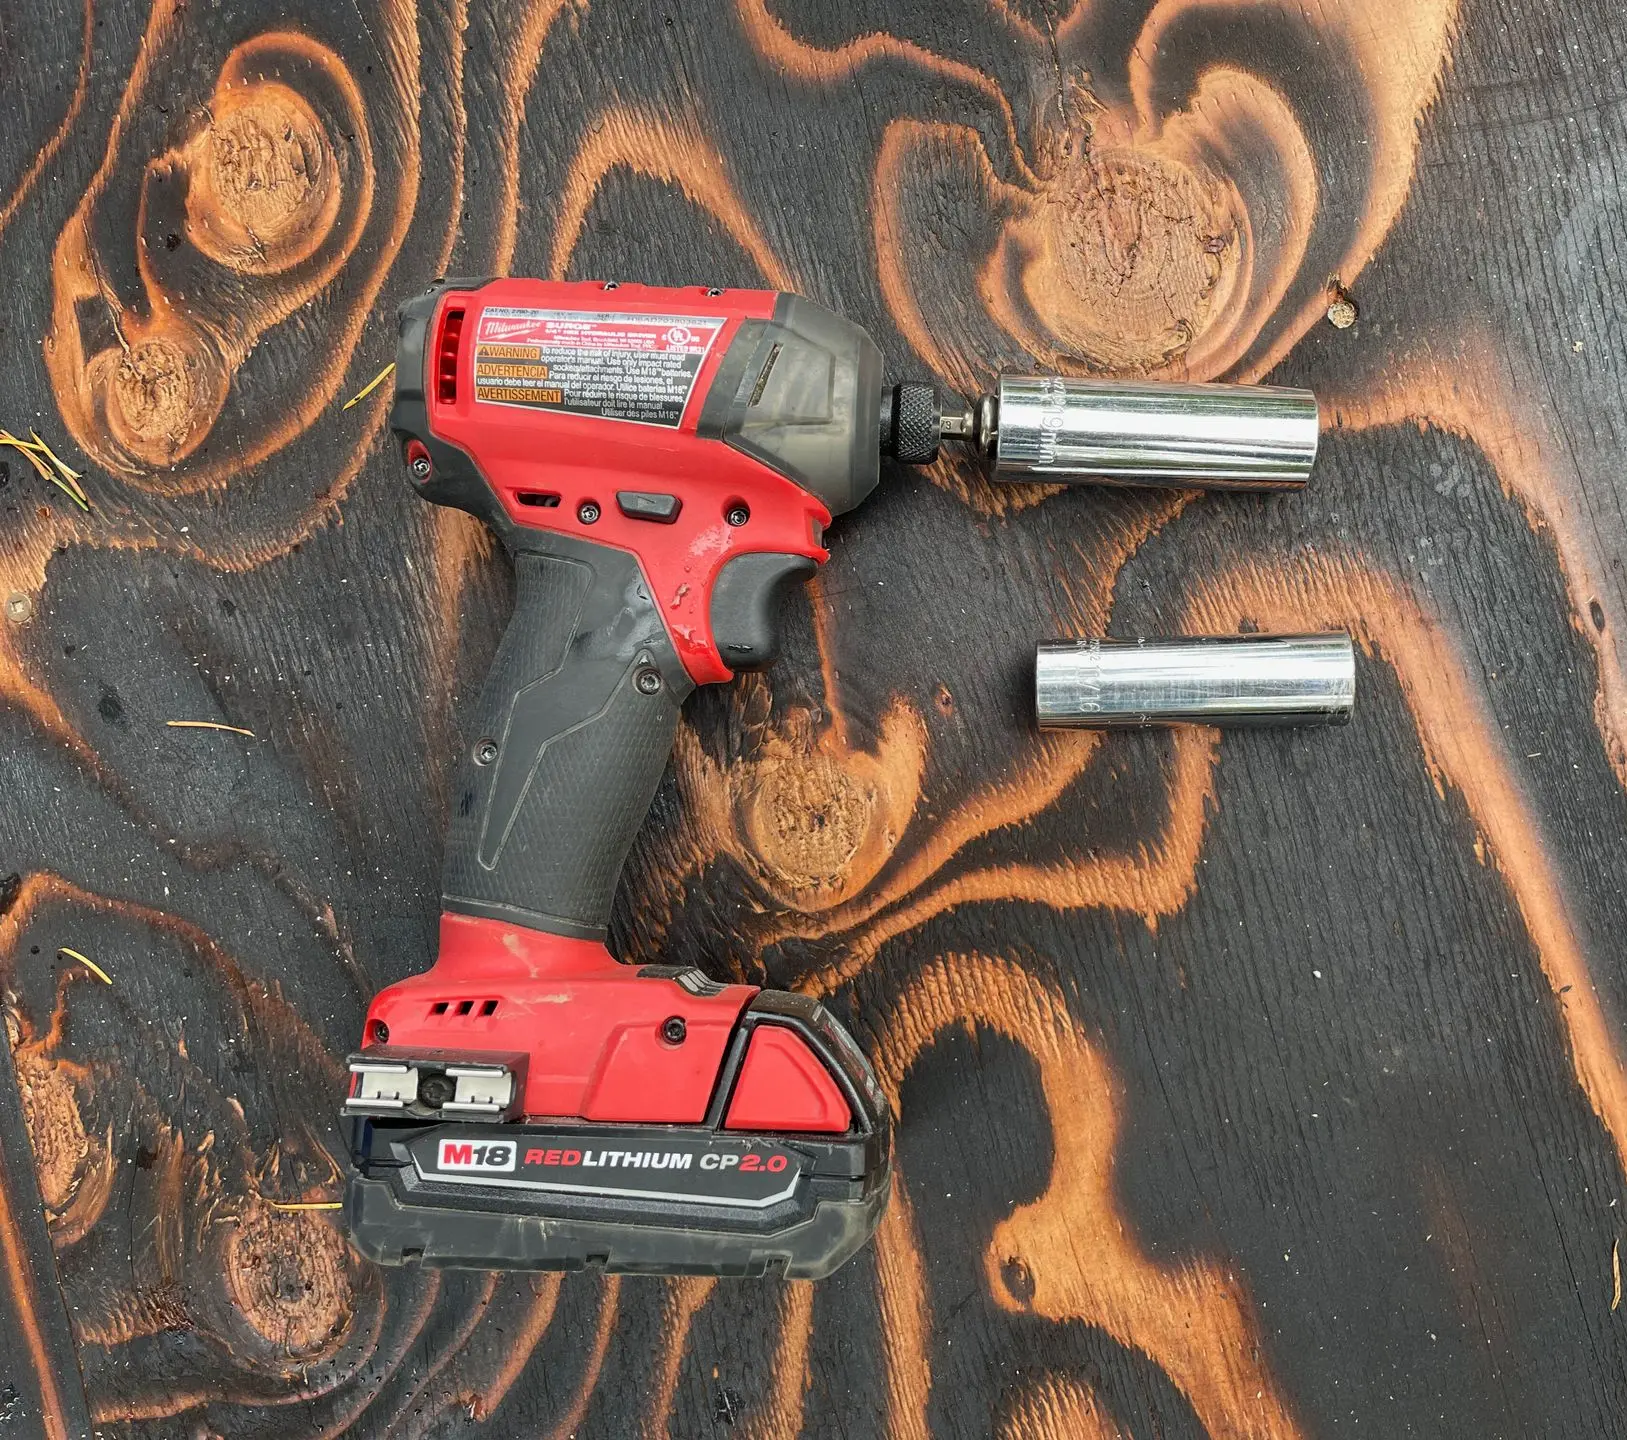
- Perceuse à percussion avec douilles longues de 17 mm et 19 mm
- 1 à 2 échelles robustes (ou échafaud roulant pour les dômes de 8 m et plus) + casques de sécurité
- Une longue corde solide et un ballon de soccer (ou similaire) pour tirer la toile
- Un treuil, un véhicule ou un groupe d'amis pour vous aider
- Bois 2x8, scie à onglets, niveau, ruban à mesurer, vis et tournevis pour le cadre de la porte
- Ruban adhésif résistant et ciseaux ou couteau Exacto
- Sangles à cliquet x 6

Étape 3 : Trier vos matériaux
Commencez par trier tous les composants de votre kit de dôme. Cela inclut les pièces de la structure, la toile de couverture, ainsi que tout composant supplémentaire comme la doublure intérieure Oxford et le kit de rideaux. Organisez-les par type et par taille afin de faciliter le processus d’assemblage.

Étape 4 : Assembler la structure
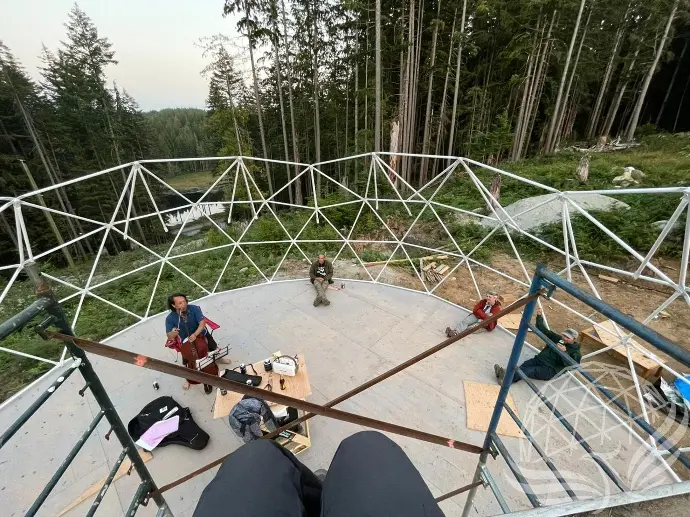
À l’aide du schéma de montage et des instructions, commencez à assembler la structure de votre dôme. Cette étape consiste à connecter les barres (struts) et les connecteurs (hubs) pour former la structure géodésique.
Assurez-vous que toutes les connexions sont bien serrées et que la structure est stable avant de poursuivre.
Étape 5 : Installer la couverture
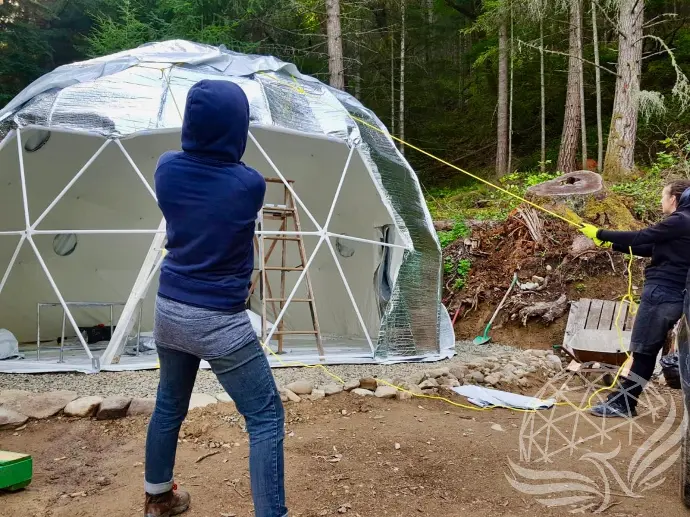
Une fois la structure assemblée, il est temps de tirer la couverture par-dessus. Utilisez la corde longue et solide ainsi qu’un ballon de soccer pour aider à positionner la couverture correctement.
Cette étape peut nécessiter un treuil, un véhicule ou un groupe d’amis pour vous aider. Fixez la couverture à l’aide des sangles à cliquet pour assurer un ajustement serré.


Étape 6 : Installer la doublure intérieure en tissu Oxford et le kit de rideaux
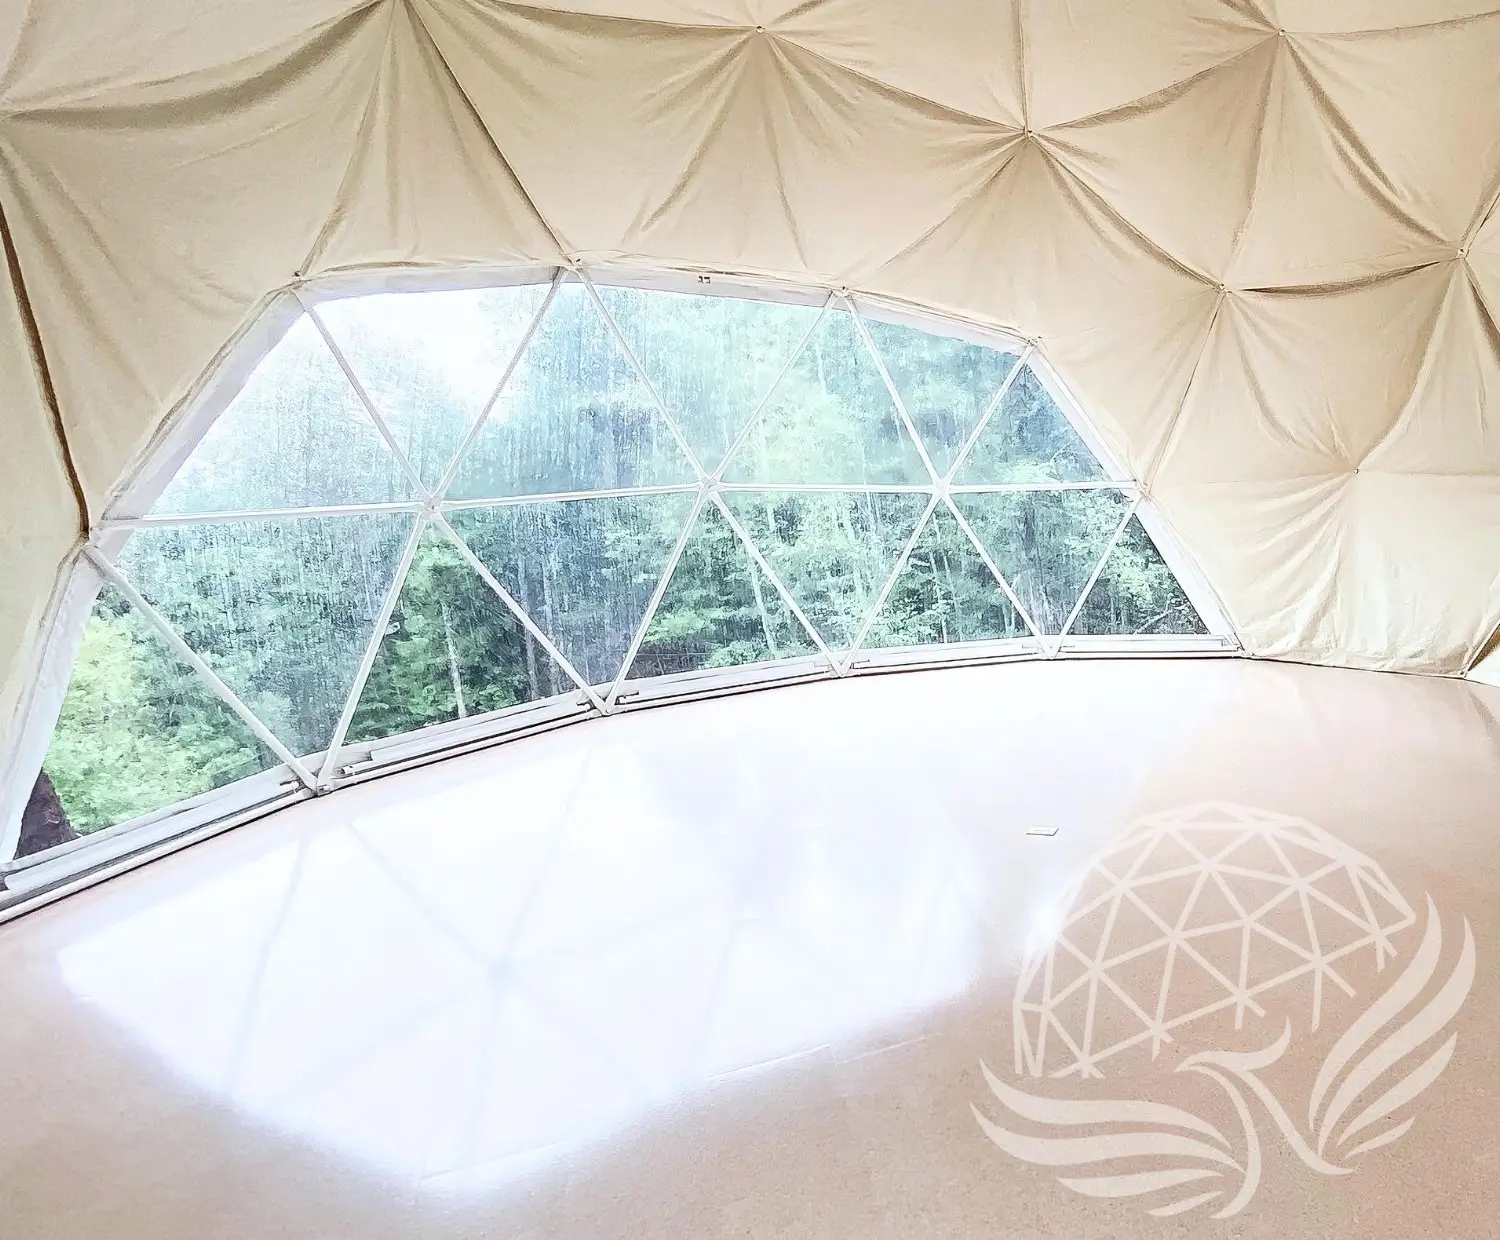
Pour les dômes avec le forfait Glamping 4 saisons ou certains dômes personnalisés, installez la doublure intérieure en tissu Oxford selon le schéma fourni.
Cette doublure aide à isoler le dôme et donne un aspect fini à l’intérieur. Enfin, suivez les instructions d’installation du kit de rideaux pour ajouter de l’intimité et du confort à votre dôme.
Étape 7 : Vérifications finales et aménagement
Une fois la structure entièrement assemblée, effectuez une vérification finale pour vous assurer que tous les éléments sont bien en place. Apportez les ajustements nécessaires. Une fois satisfait, vous pouvez commencer à aménager l’intérieur avec votre mobilier et vos touches personnelles pour faire de votre dôme un espace qui vous ressemble.
Dernières remarques
Installer votre Phoenix Dome est un processus gratifiant qui transforme un ensemble de matériaux en un espace de vie magnifique et fonctionnel. En suivant ces étapes et en utilisant les ressources fournies, vous serez bien préparé pour profiter pleinement de votre nouveau dôme. Pour des instructions plus détaillées et du soutien, visitez notre page Ressources.
Bonne construction!